
Sylvia Bridal Sampler BOW


 03-16-2018, 04:42 PM
#1362
Super Member
Join Date: Dec 2017
Location: Southwest Idaho
Posts: 5,999
Laurafet...bear claw is easier to piece than PP, which is what I did...at least for me it was. However, I'm still missing a point but, whatever!! Lol! My perfectionism is really being tested with this project...
 Very well done Teen!
 03-17-2018, 06:14 AM
#1367
Super Member

Join Date: Jul 2013
Location: South Dakota
Posts: 8,147
way to go teen! Those tiny HST are something else . . .
I ended up canceling going to the class, since I woke up to ice on the windows and didn't want to chance the 80 mile drive. I told my husband I didn't want to go in the ditch and wreck my $$$$ new sewing machine. He said I should be worried about going in the ditch and wrecking my $$$$$ new car (bought end of December).
The bad part - the weather didn't get as bad as predicted, so I probably could have gone and been ok. The worst part is I'm still intimidated by the machine. I may have to watch some classes and get brave enough to mount a hoop and play around a bit. I've got lots and lots of thread and stablizer . . . just not brave enough.
Teen, for sewing Y seams, I sew the first seam all the way to the end. Then I finger press it to the side, and line up the second piece so the part where I want to end is lined up with that seam. I sew down to the seam and back tack. Then I carefully remove the end stitches on the first seam back to were the second seam meets it.
Then I carefully fold so that I can line up for the second seam. I let the fabric stay tucked in and so far I've never sewn it. Then I start at the inside edge (where the three seams meet) and back tack, and sew to the end. Then I take it to the iron and press.
I'm pretty sure it takes longer to write this out than it does to do one. Even the really small ones are easy. The main thing is to be careful lining up the first side do you get the piece down low enough so it will line up correctly when you do the second side. If you don't have it exact, you will find you need to sew the second side with the edge of the fabric not meeting exactly, but a bit more or less normally won't be a problem. Just keep the overlap the same for the length of the seam. Do not angle the second seam, or it won't lay flat.
If you are sewing in a corner block, you can cut it a bit larger to start, and then trim it after the block is done. That way if you get it in a bit off, you'll still have enough for the outer seam allowance.
03-17-2018, 11:42 AM
#1369
Senior Member
Join Date: Aug 2010
Posts: 430
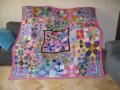
Donna - love the orange/yellow block!
Teen - yours are turning out very nice. And it's always nice to have an excuse to stop at the LQS, though sometimes I need blinders when I go in so I don't get distracted and walk out with way more than I was looking for.
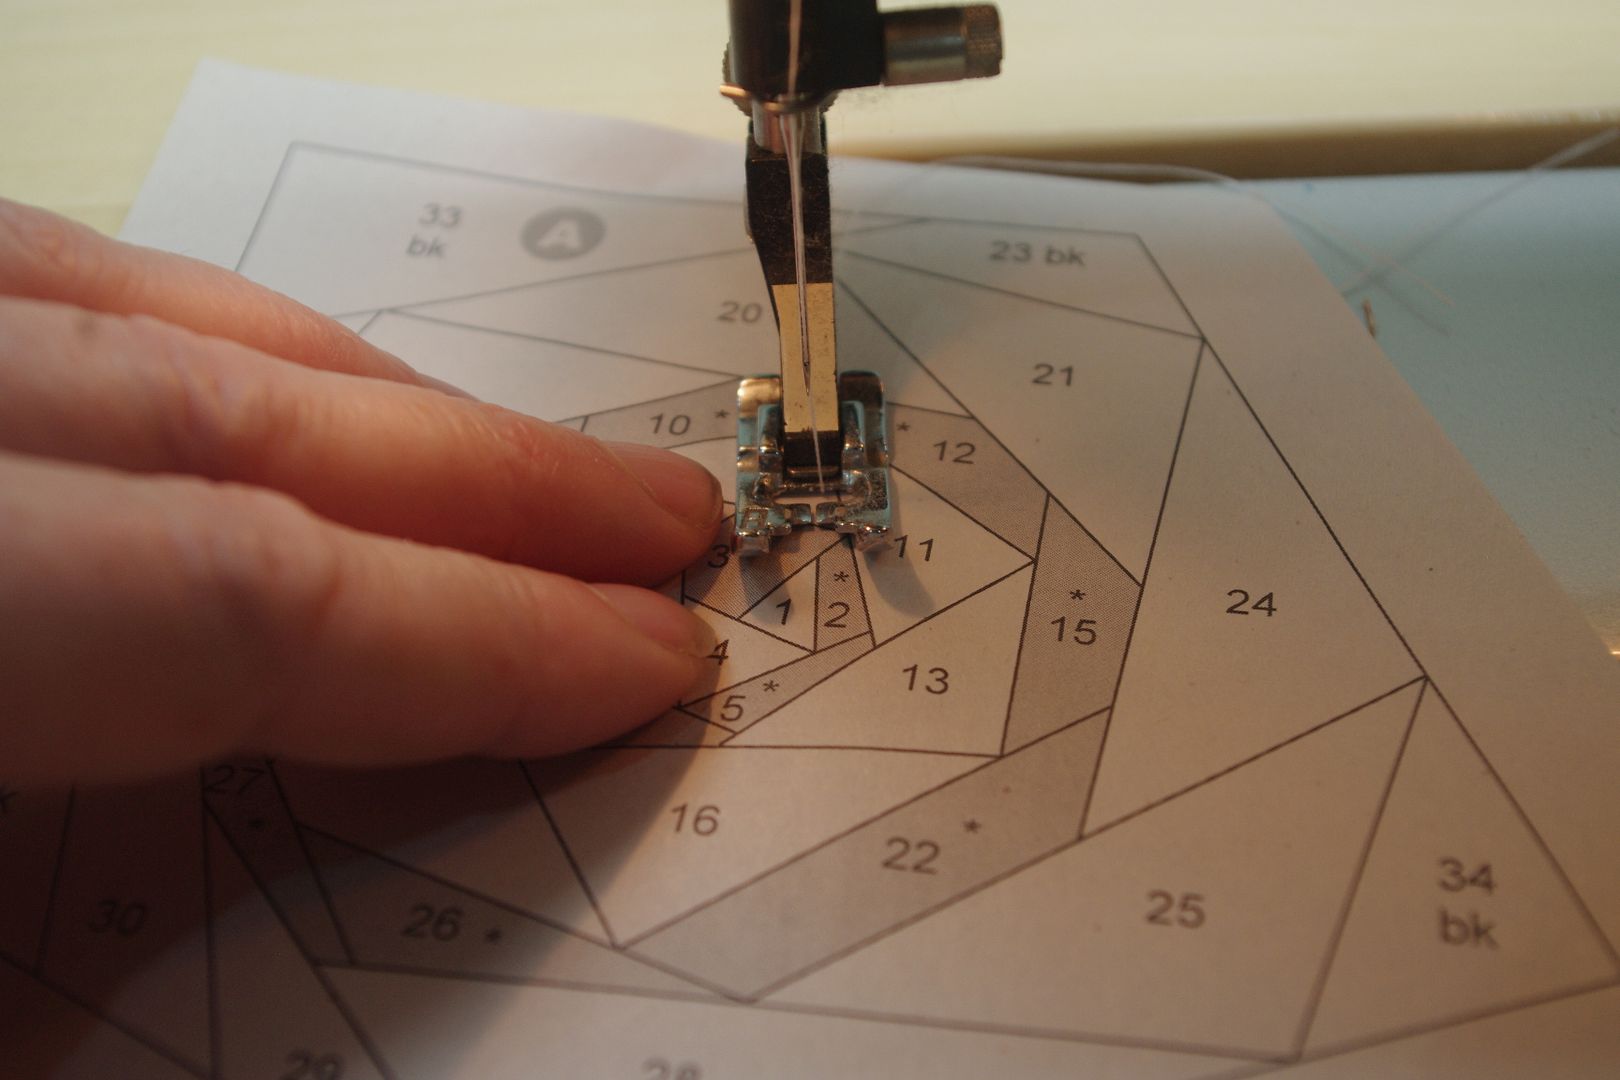
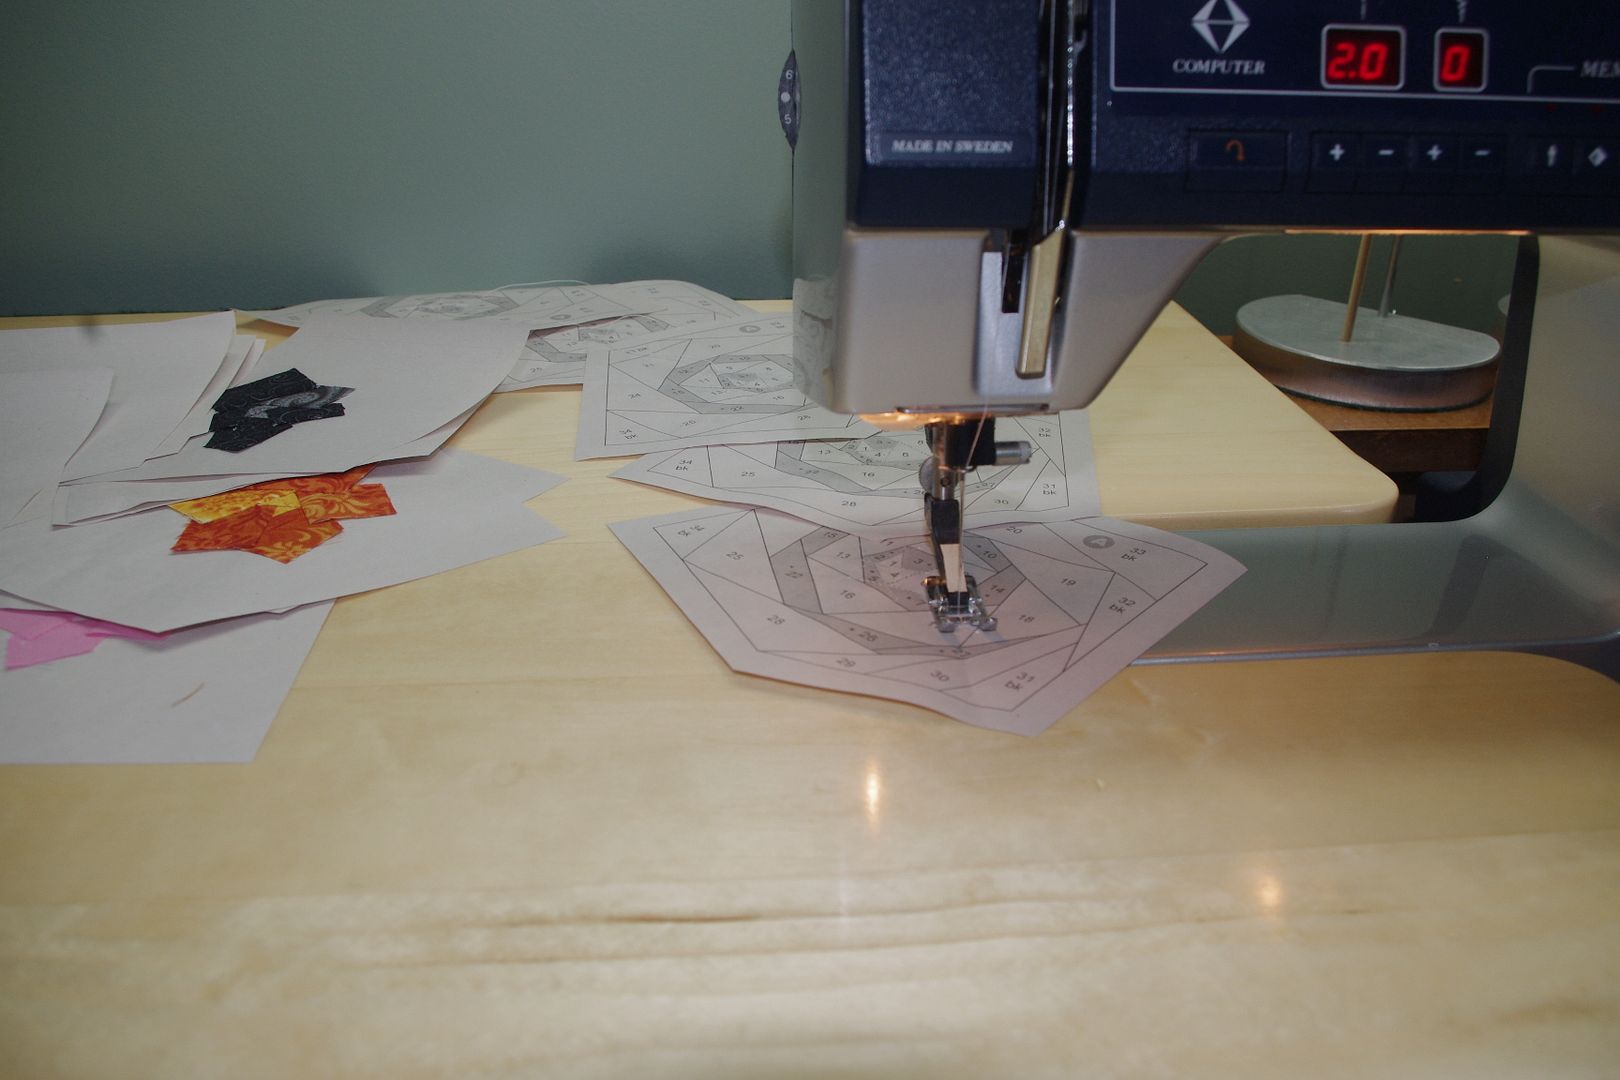
My first PP was doing the 50 Stars challenge on this board, using Carol Doak's book. I made it through all 50, but have not done anything with them. So they are one of my longer term UFO's. I never could get good at sewing sections together until I started removing the paper first.
I bought the 6" and 12" add a quarter rulers, and bought a 6" add an eighth ruler. I'm not using them at all with the CMIYC quilt.
I did use them when I did the Fire Island Hosta quilt by Judy N, however I did not sew on the papers with that one, just used them as a template.
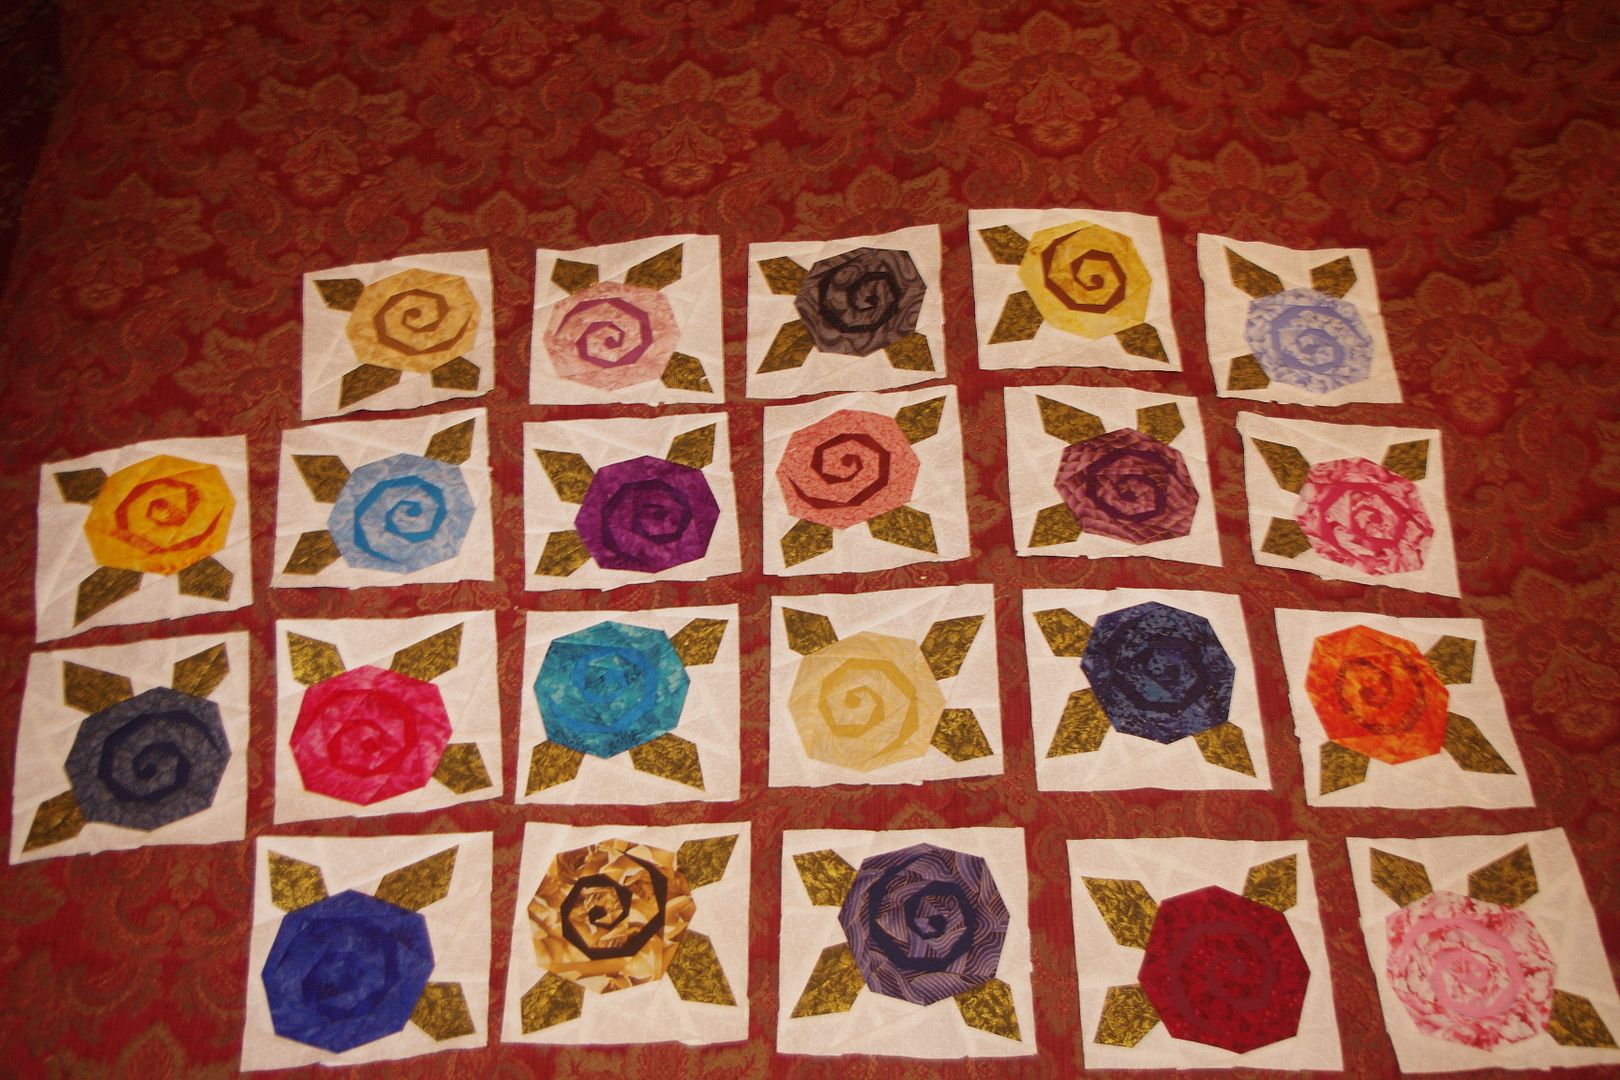
I have another PP project that is also a UFO - I started making roses. They finish around 6".
And I liked doing them as a group too. This was before I upgraded my machine to one with a thread cutter. It was very tedious cutting all the threads.
Teen - yours are turning out very nice. And it's always nice to have an excuse to stop at the LQS, though sometimes I need blinders when I go in so I don't get distracted and walk out with way more than I was looking for.
My first PP was doing the 50 Stars challenge on this board, using Carol Doak's book. I made it through all 50, but have not done anything with them. So they are one of my longer term UFO's. I never could get good at sewing sections together until I started removing the paper first.
I bought the 6" and 12" add a quarter rulers, and bought a 6" add an eighth ruler. I'm not using them at all with the CMIYC quilt.
I did use them when I did the Fire Island Hosta quilt by Judy N, however I did not sew on the papers with that one, just used them as a template.
I have another PP project that is also a UFO - I started making roses. They finish around 6".
And I liked doing them as a group too. This was before I upgraded my machine to one with a thread cutter. It was very tedious cutting all the threads.
03-17-2018, 05:26 PM
#1370
Super Member
Join Date: Dec 2017
Location: Southwest Idaho
Posts: 5,999
Omgosh, Macybaby.....I so wish I read this before I attempted the Y-seam. I watched a bunch of youtubes and they all do it differently. These are so tiny that not all techniques will work. Shoot!! Thank you so much for these instructions. I printed them out.
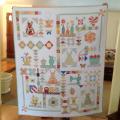
Ok....I did ONE block with Y-seams galore and it didn't turn out too bad but I may re-do a side triangle tomorrow. This block was challenging because I have never cut 45 degree pieces (OMG...took forever to conceptualize with my straight ruler since I don't have a 45. Felt so stupid)...and I've never sewn these shapes together before so it took some practice pieces to figure how to line them up.....then, I picked the one block that has 8 Y-seams in it. One success is that it came out 6 1/2"...hahahaha! So, F9 is below for your viewing pleasure. Lol!! However, please take note of B3 - Cross & Crown. I found some teal fabric that looks like wood in my stash.....can you believe that? Perfect! I got so excited over this stupid fabric that the pain of F9 went away...Ha!
3 completed today takes me to 92!!!!! Woohoo!

Thread
Thread Starter
Forum
Replies
Last Post
