
Piano Key Borders
 10-23-2015, 04:45 AM
#1
Super Member
Thread Starter
Join Date: Jan 2011
Location: Las Vegas, NV
Posts: 1,398
I've never done a piano key border yet, but want to. Do you make one long enough strip of piano keys to go around quilt and miter corners, or do you sew on top/bottom and then sides? And how wide do you make your keys? I gathered from another post that about 5 inches is a good length for the keys. Thank you for all advice coming.
 10-23-2015, 04:51 AM
#2
Power Poster

Join Date: Mar 2009
Location: Lake Elsinore, CA
Posts: 15,266
I sew on sides, then top and bottom, and usually put a square block in the corners. The width and length of the keys depends on the size of the quilt, but 5-6 inches is a good width for a bed size quilt.
 10-23-2015, 05:02 AM
#4
Power Poster
Join Date: Dec 2010
Location: Michigan
Posts: 11,276
The 5" was suggested in the other post because she was trying to get to a specific finished quilt size. As Dunster said, it needs to be proportional to the quilt and the blocks. As far as the corners go, I've done it different ways. You can use a plain or pieced block in the corner or apply it just like a normal border (sides, then top). In order to miter it with seams matching, you have to be exact in the calculation of the width of the keys so that the border exactly fits the quilt top.
10-23-2015, 05:25 AM
#5
Super Member

Join Date: Jul 2013
Location: Georgia
Posts: 8,154
I've done it several different ways. I prefer putting a block in each corner, though I've also angled them to make the corner, along with mitering, and sometimes going all the way across top to bottom.
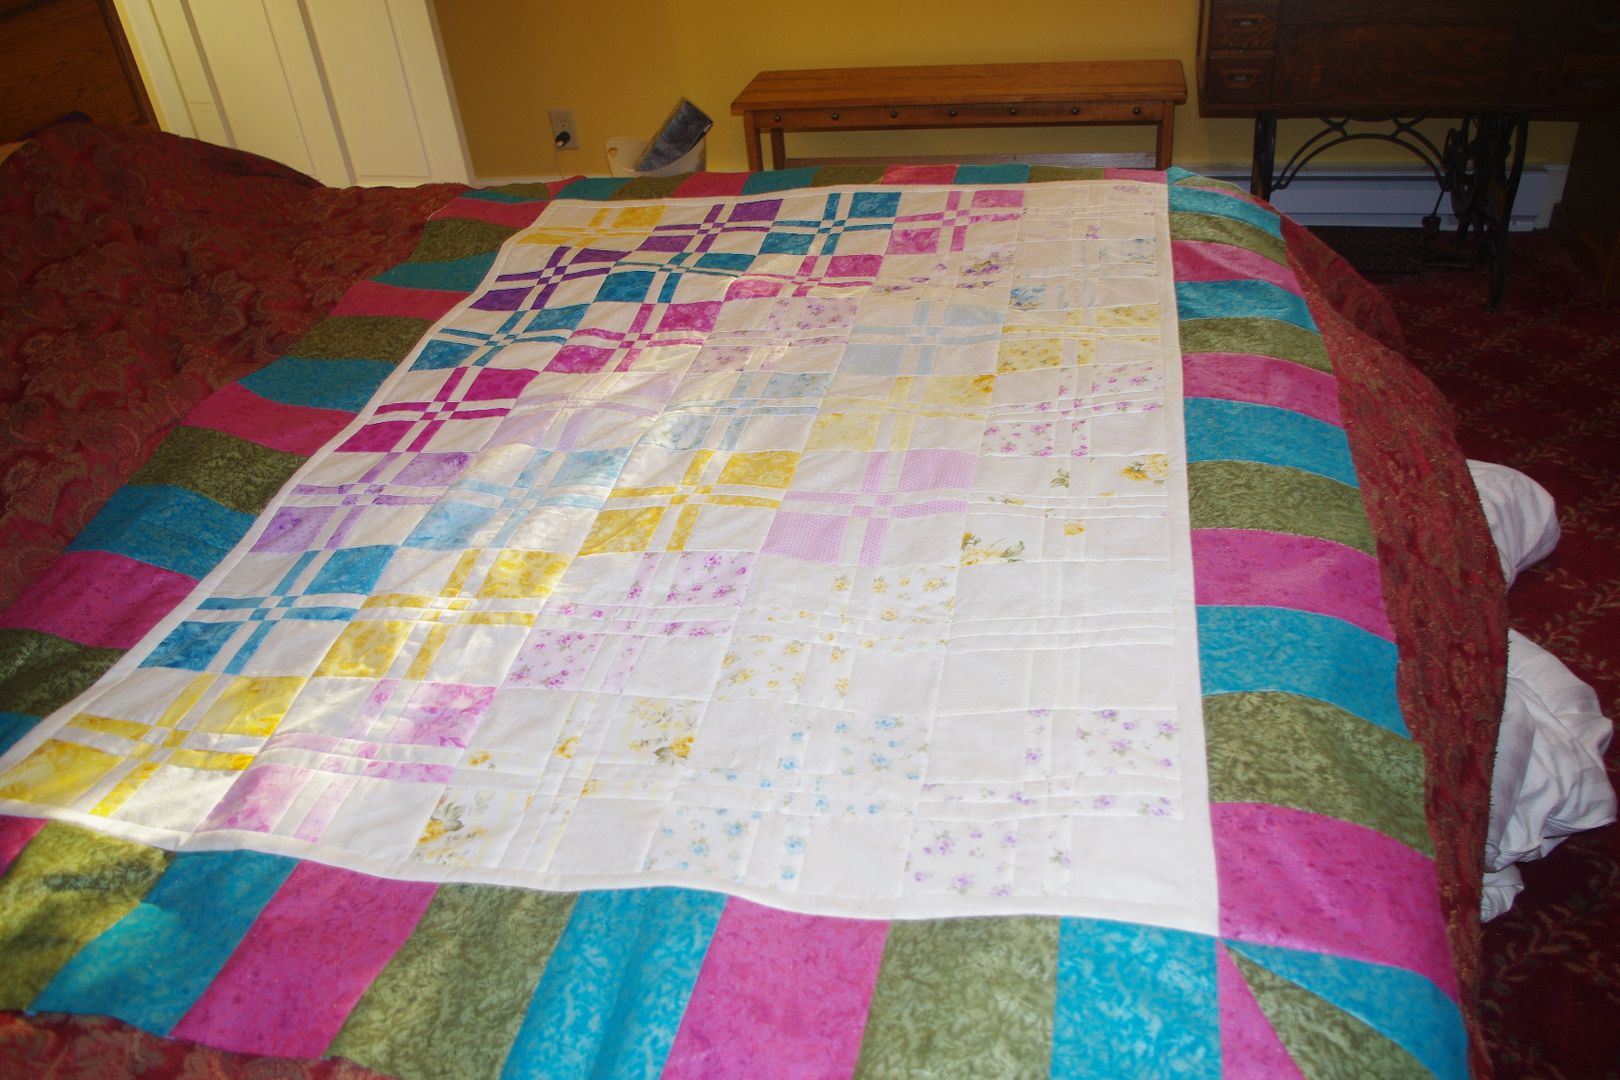
The hardest thing with piano borders to get the on so you don't end up with a wavy border when you are done. (like this red one that I wasn't as careful about)


This one has larger "keys" and I made a block with the prices angling to go for the corner, so it looks like it moves around the quilt. Though it's hard to see, there is a narrow white border around the quilt. I used that to make the outer border and the inner quilt match up. Sometimes it does not matter, but often it's the easiest way to transition without doing a lot of complicated formulas to get the keys right.
The hardest thing with piano borders to get the on so you don't end up with a wavy border when you are done. (like this red one that I wasn't as careful about)
This one has larger "keys" and I made a block with the prices angling to go for the corner, so it looks like it moves around the quilt. Though it's hard to see, there is a narrow white border around the quilt. I used that to make the outer border and the inner quilt match up. Sometimes it does not matter, but often it's the easiest way to transition without doing a lot of complicated formulas to get the keys right.
10-23-2015, 05:28 AM
#6
Power Poster
Join Date: Jun 2011
Location: Southern California
Posts: 19,127
Yes, as others have stated, you want the proportions to work well with the size of the quilt. When I had to deal with the corners of the border, I pieced 4 HST that fit into the corner of each border so they looked like they had been mitered.
10-23-2015, 08:52 AM
#7
Senior Member
Join Date: May 2010
Posts: 947
Because I find it awkward to miter or to butt piano key borders, I got with the cornerstone block approach. Sometimes it's fun to use one that references the center of the quilt, either with a smaller pieced segment or with applique. Think of it as yet another design opportunity.
10-23-2015, 12:38 PM
#10
Power Poster
Join Date: Feb 2009
Location: Northern Michigan
Posts: 12,861
All of your keys can be the same width, or they can be a variety of widths, the length can be any length that works for the quilt they are going on, no rules. I've done them with strips ranging from 3/4" wide up to 2 1/2" wide, everything in between. I've had some that were 2 1/2" long, some that were 8" long. I've used jelly rolls & made them all 2 1/2" wide. I made them scrappy with every fabric in the quilt and I've made them with just 2 fabrics. I've always added the two sides then top & bottom.I have mitered the corners most often, but if the strips were all different random widths, scrappy I either used corner blocks or boxed the ends. Anyway you like is fine

Thread
Thread Starter
Forum
Replies
Last Post
