
Piecing Quilt Batting With a Wide Zig-Zag
 08-20-2015, 07:50 AM
#1
Senior Member
Thread Starter

Join Date: Nov 2013
Location: Calgary, Canada
Posts: 516
Often I have good pieces of quilt batting left and I like to piece them together to use in another project. This is a quick and simple method that produces a good, strong join.
Start with numerous pieces of the same type of batting.
For this tutorial I had 4 pieces of various widths that were at least 70" long.
My first step was to cut all of my batting pieces 70" long.
This length for your batting will depend on the pieces that you have.
They need to be cut to the same length, or added onto
(using the method described here) to make the same length.

Trim the edges of your batting pieces so they have a clean edge.
The widths may vary from piece to piece, just be sure that they are squared up.
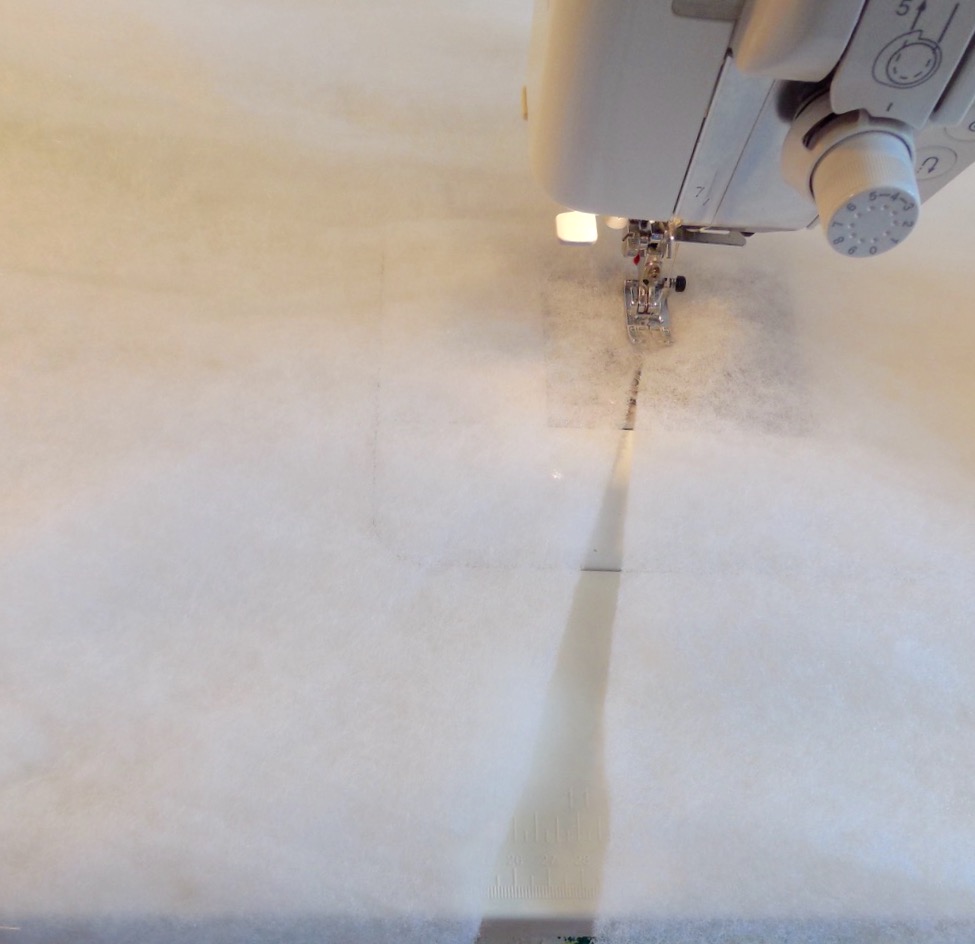
Now, butt your pieces of batting edge to edge.
Do not overlap.
The batting is thick enough that it will sit nicely with the edges together.
Pin at the beginning, middle, and end of the seam line to keep it even.


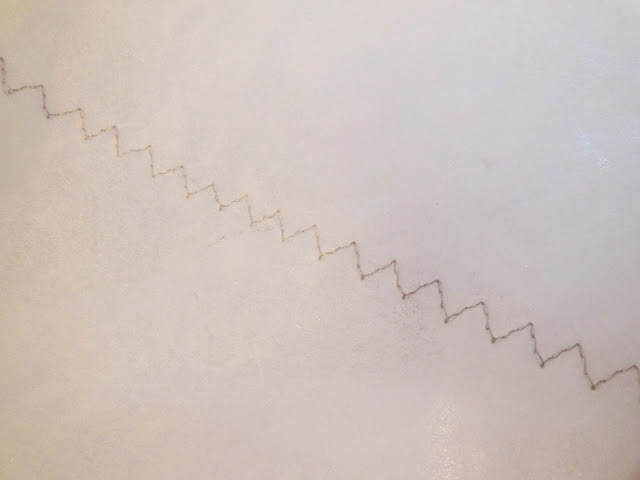
Keeping the edges pushed together, sew along the join line with a very wide zig-zag.
The stitch here is 7mm wide.
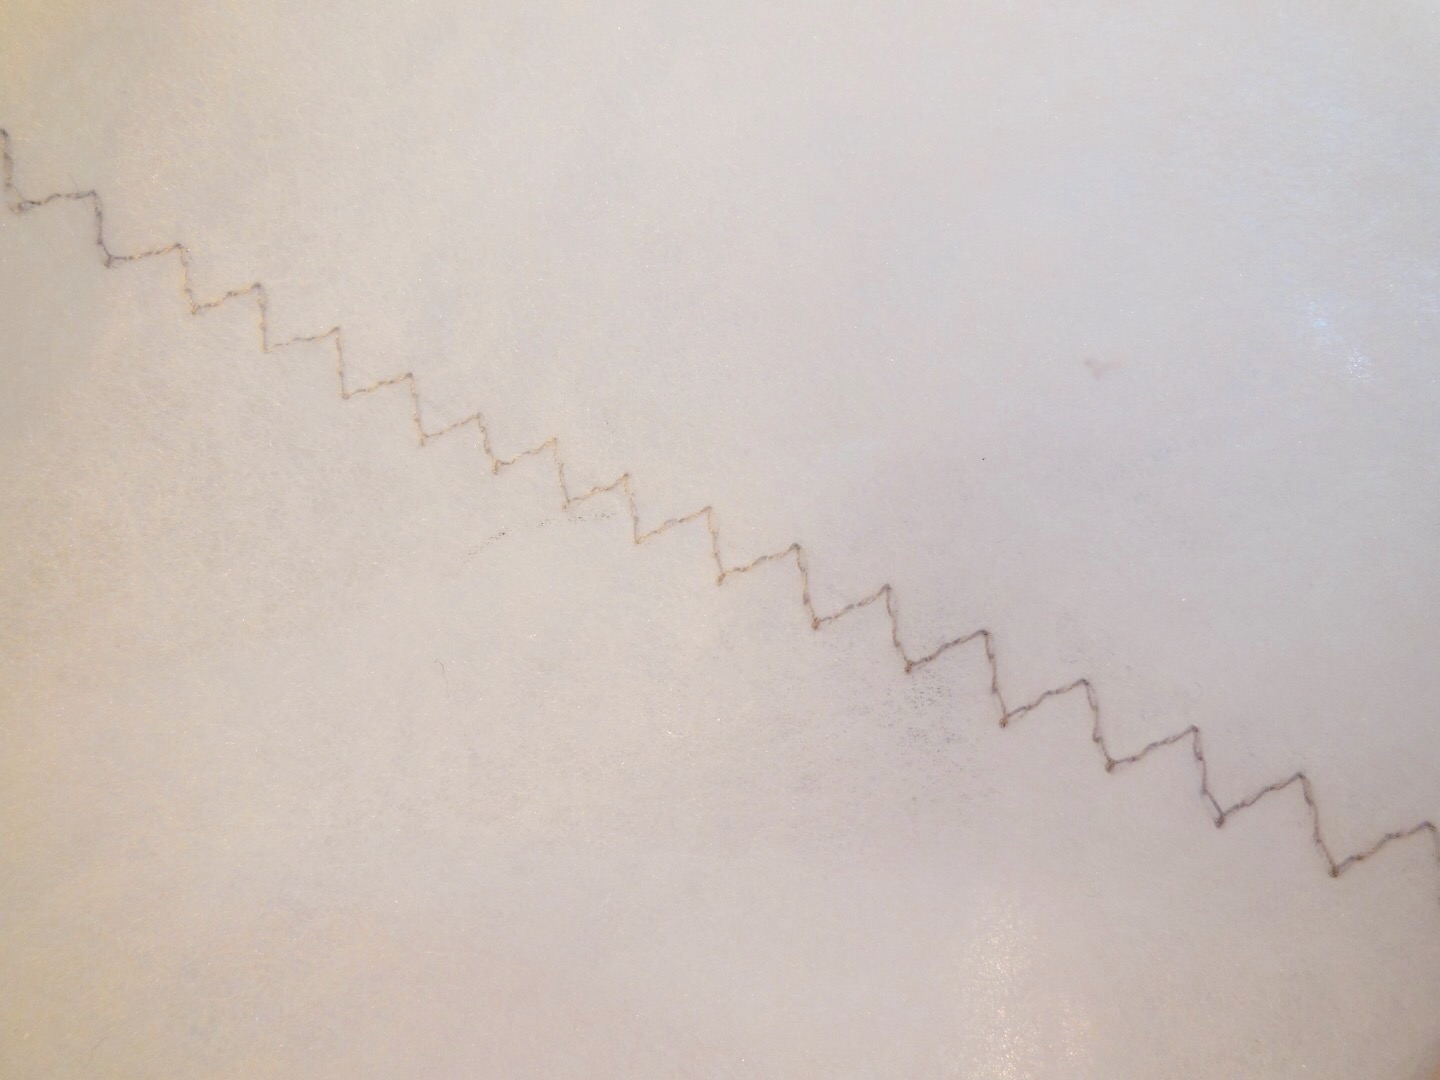
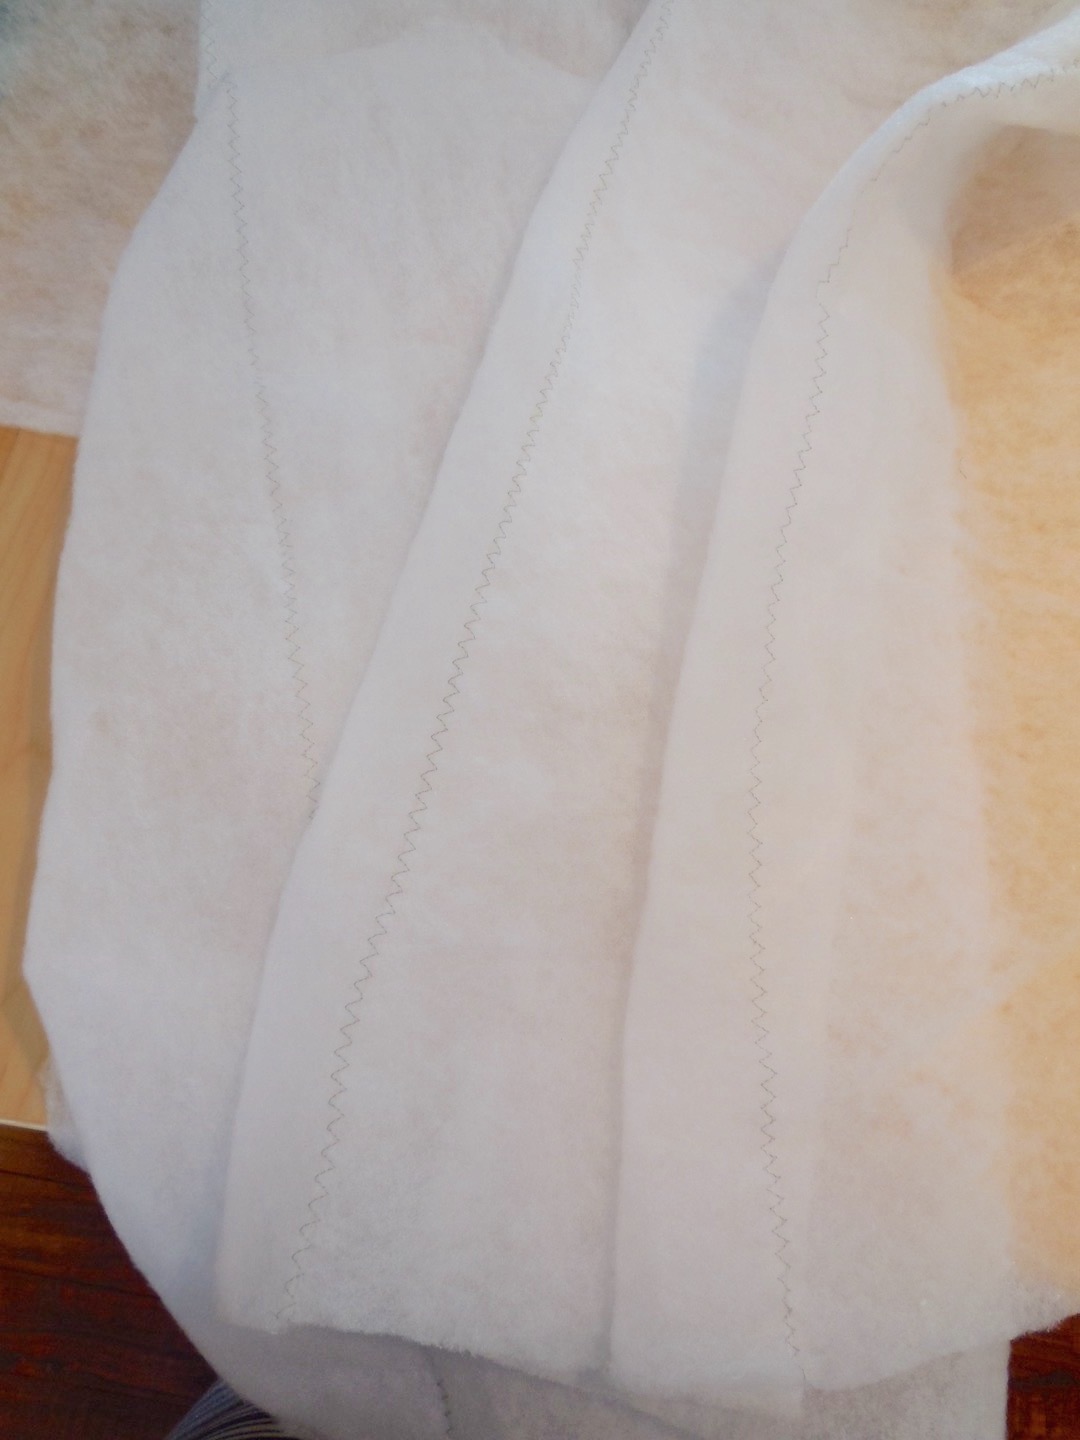
Here is a completed join.
When I go to pin my quilt I am able to use this as I would any brand new piece of batting.

This piece is large enough for a lap quilt.
Start with numerous pieces of the same type of batting.
For this tutorial I had 4 pieces of various widths that were at least 70" long.
My first step was to cut all of my batting pieces 70" long.
This length for your batting will depend on the pieces that you have.
They need to be cut to the same length, or added onto
(using the method described here) to make the same length.
Trim the edges of your batting pieces so they have a clean edge.
The widths may vary from piece to piece, just be sure that they are squared up.
Now, butt your pieces of batting edge to edge.
Do not overlap.
The batting is thick enough that it will sit nicely with the edges together.
Pin at the beginning, middle, and end of the seam line to keep it even.

Keeping the edges pushed together, sew along the join line with a very wide zig-zag.
The stitch here is 7mm wide.
Here is a completed join.
When I go to pin my quilt I am able to use this as I would any brand new piece of batting.
This piece is large enough for a lap quilt.
 08-20-2015, 11:30 AM
#4
Senior Member
Thread Starter
Join Date: Nov 2013
Location: Calgary, Canada
Posts: 516
Yes, I have this option on my new machine which I like a lot. I have also done it with a regular wide zig-zag on my older machines and it works well also.


Thread
Thread Starter
Forum
Replies
Last Post
Tank
For Vintage & Antique Machine Enthusiasts
11
04-11-2024 05:38 AM
