
PP Carpenter's Wheel
 10-03-2014, 01:24 PM
#1
Super Member
Thread Starter

Join Date: Sep 2014
Location: Rural Oklahoma
Posts: 5,374
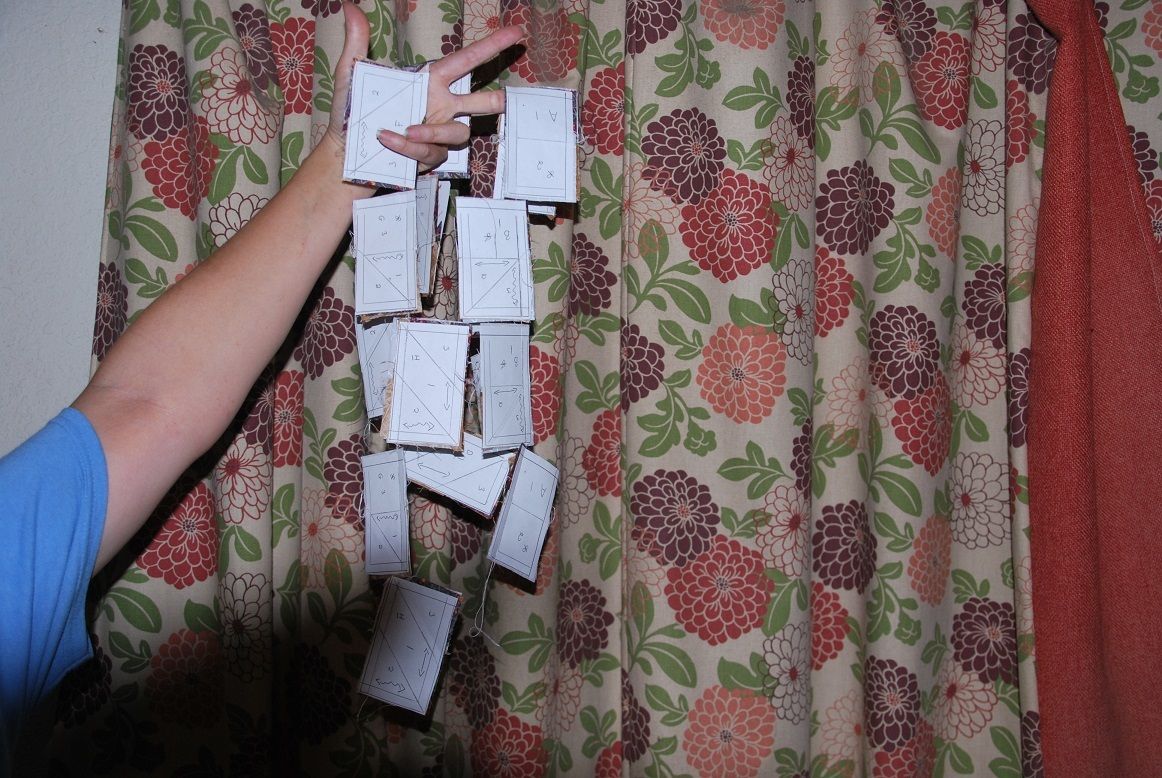
I was asked to show a tutorial of how to assemble the carpenter's wheel block w/ the paper pieced pattern I made so here it is hope it isn't to many pics.

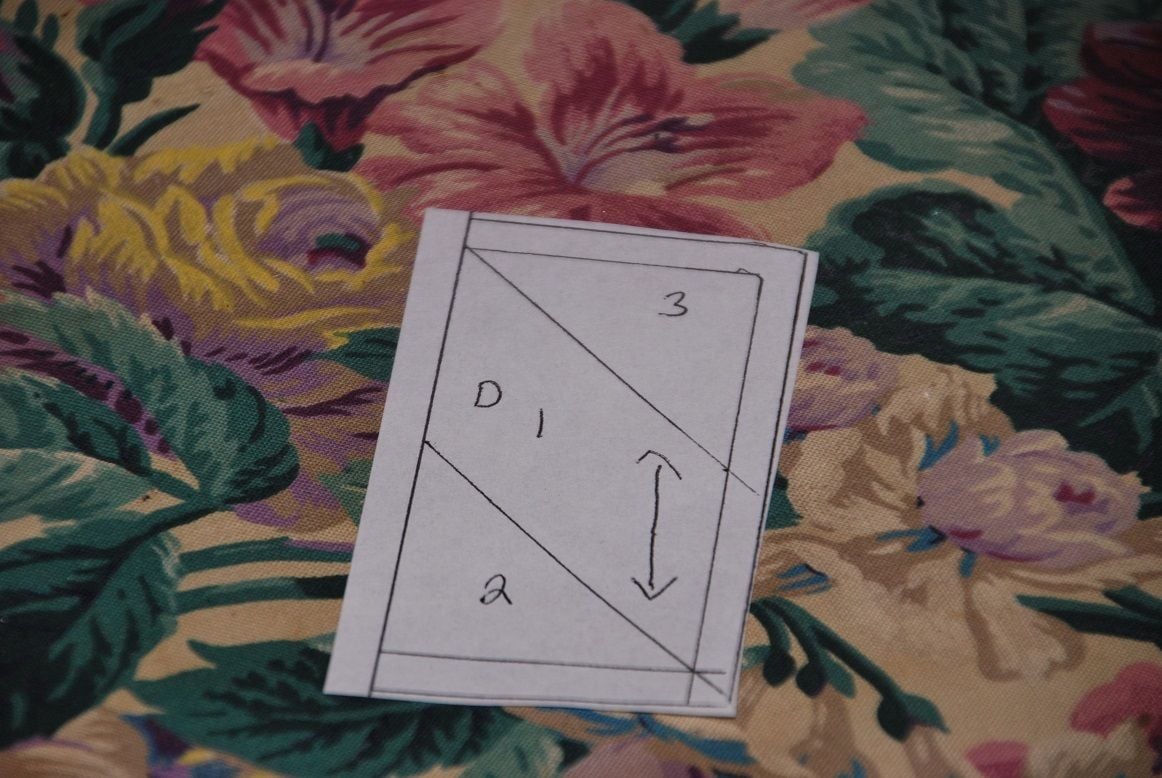
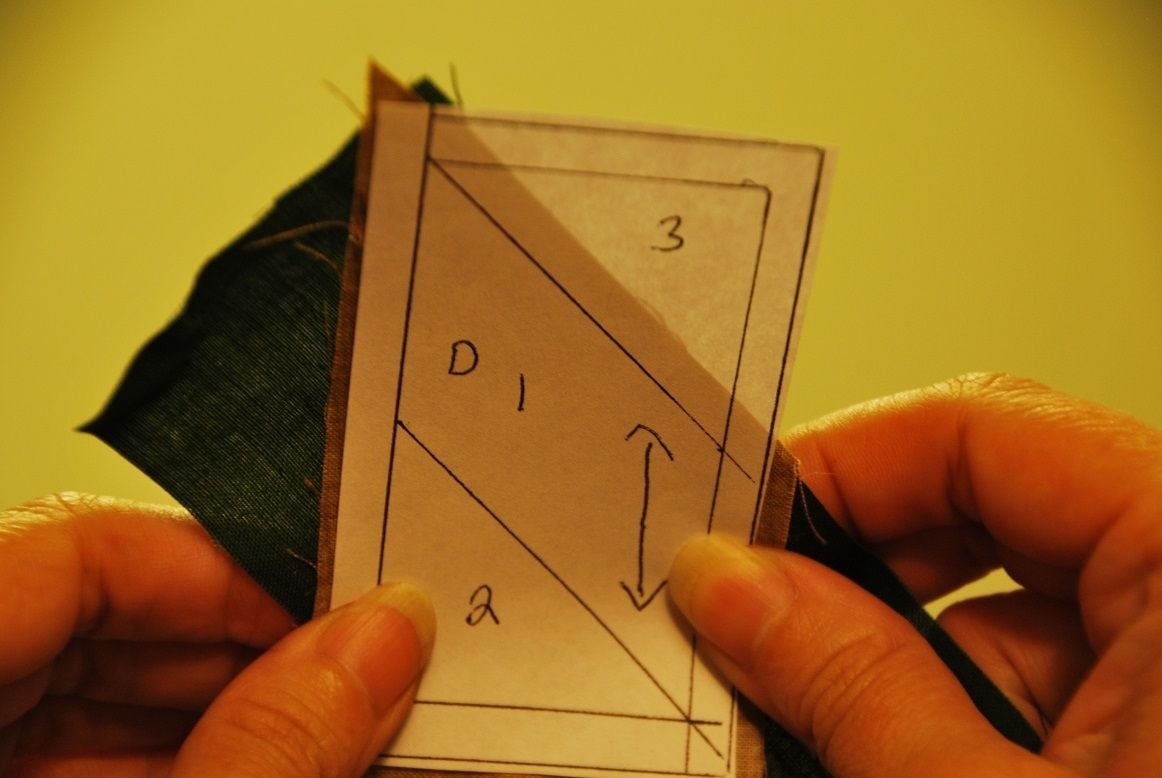
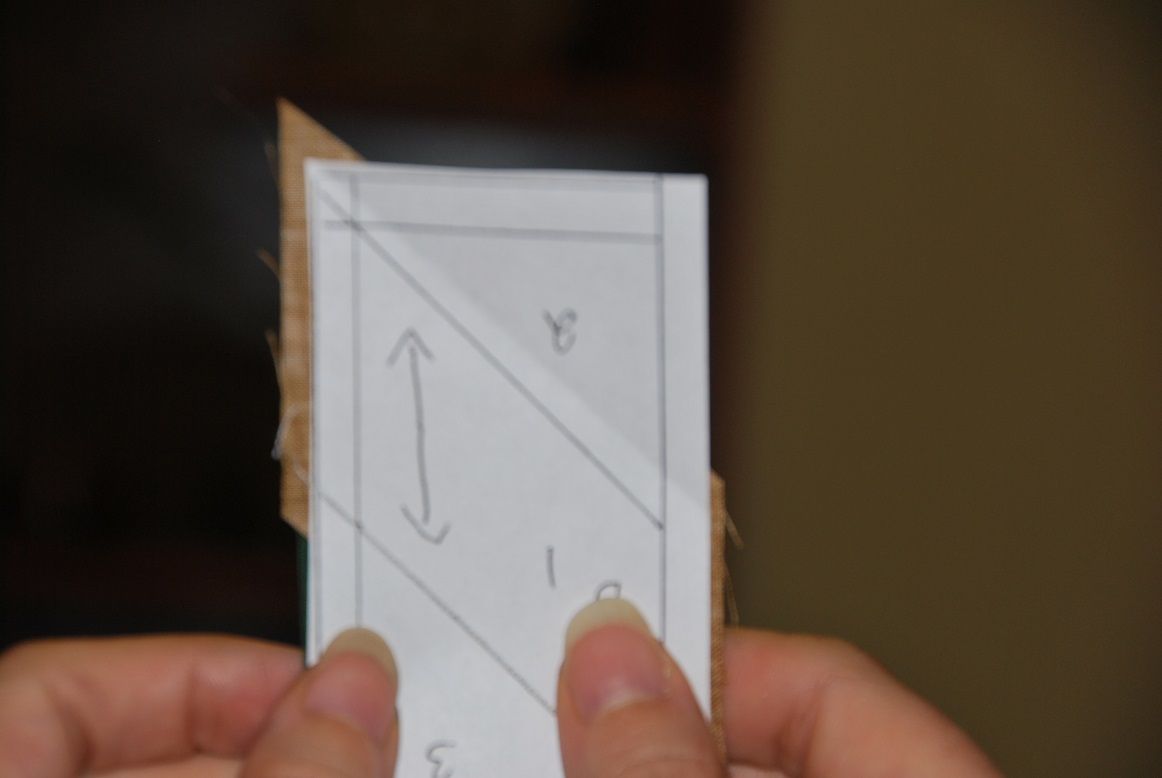
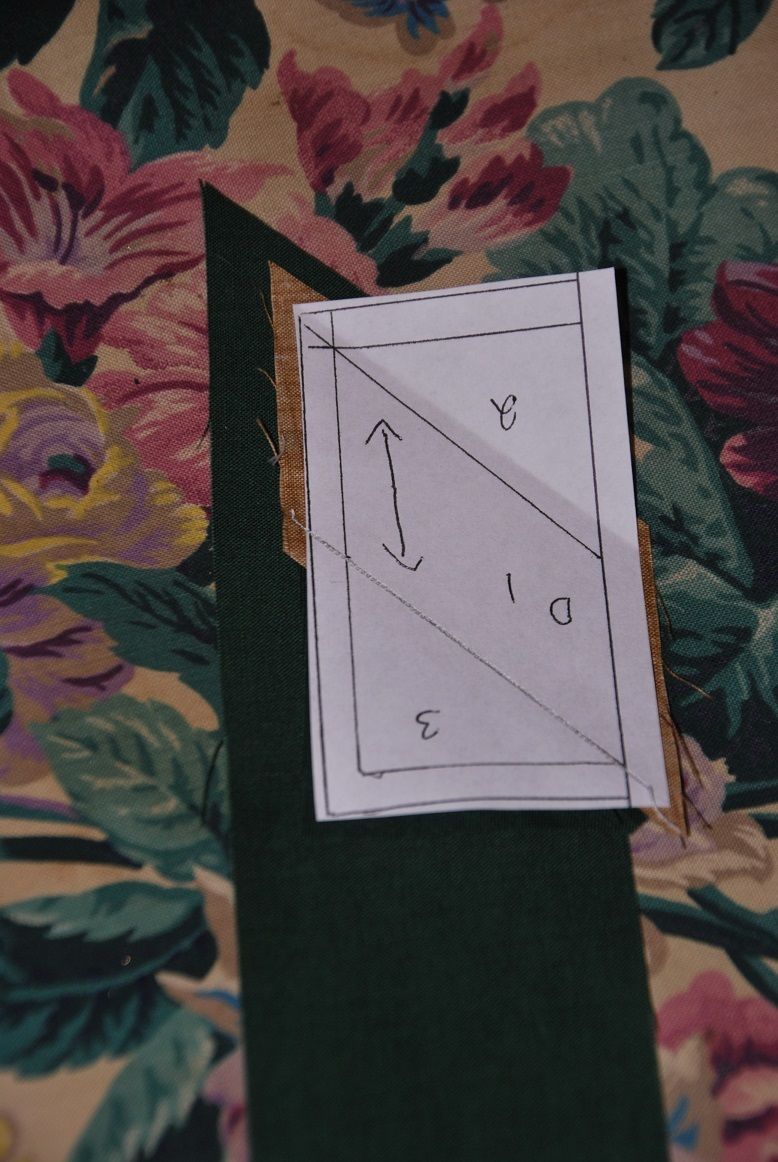
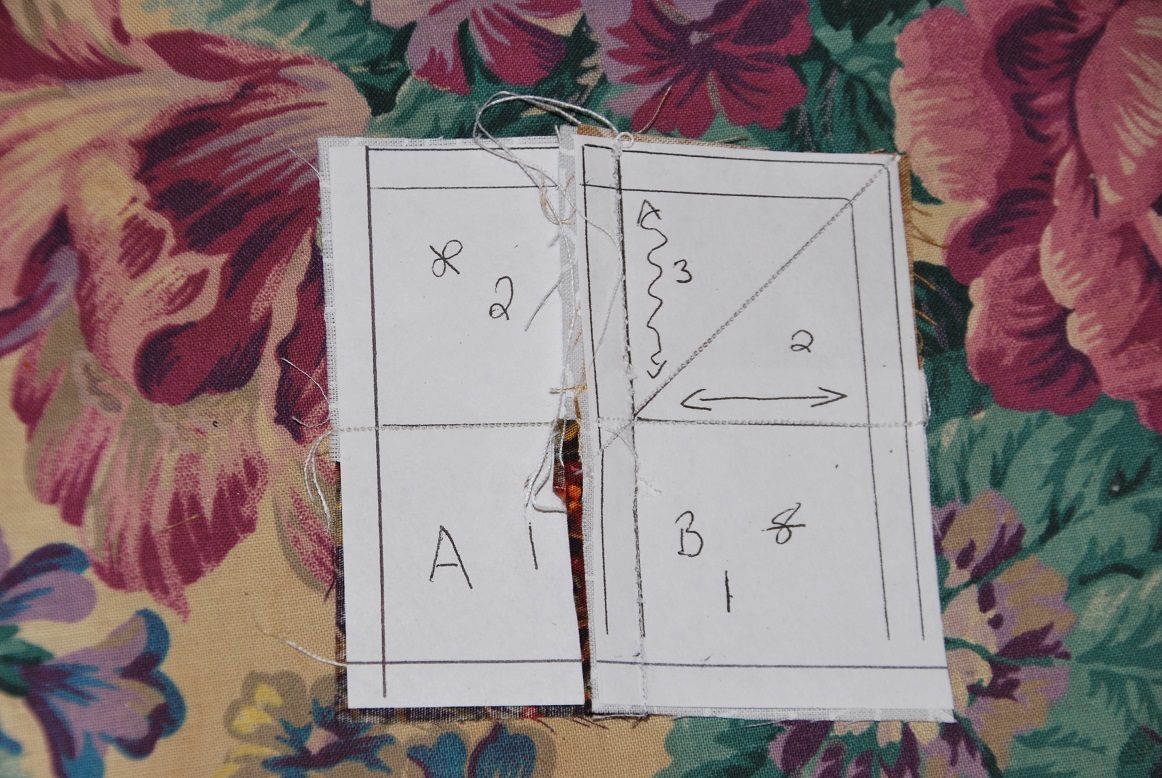
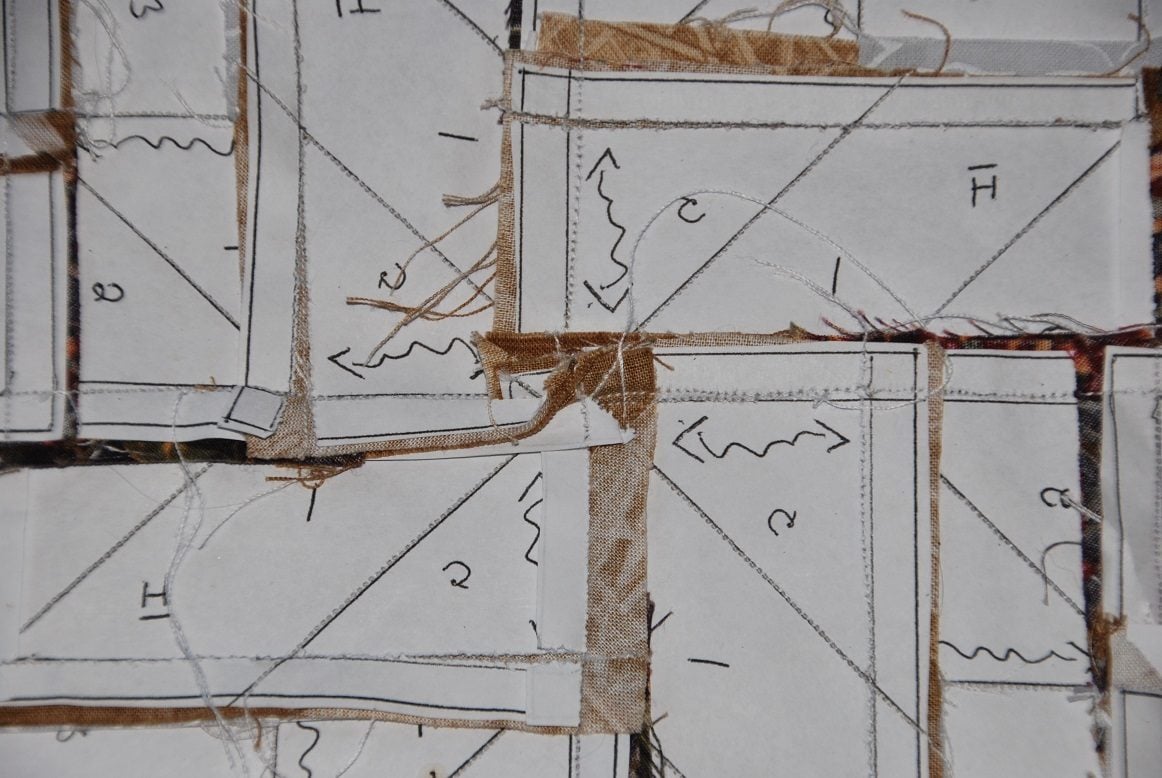
First of all here is the pattern this shows 1/4 of the block, so you will need 4 of these to make one 12 1/2 inch block. The individual rectangles should measure 2 inches by 3.5 inches from outside edges (not the sew line) This will make the 12.5 inch block.
If your working with a fabric that is directional use the arrows for directional placement as well as fabric choice.
The blank selection I marked as "very dark" really is background and doesn't have to be the darkest fabric
Each rectangle will be sewn first in regular pp fashion
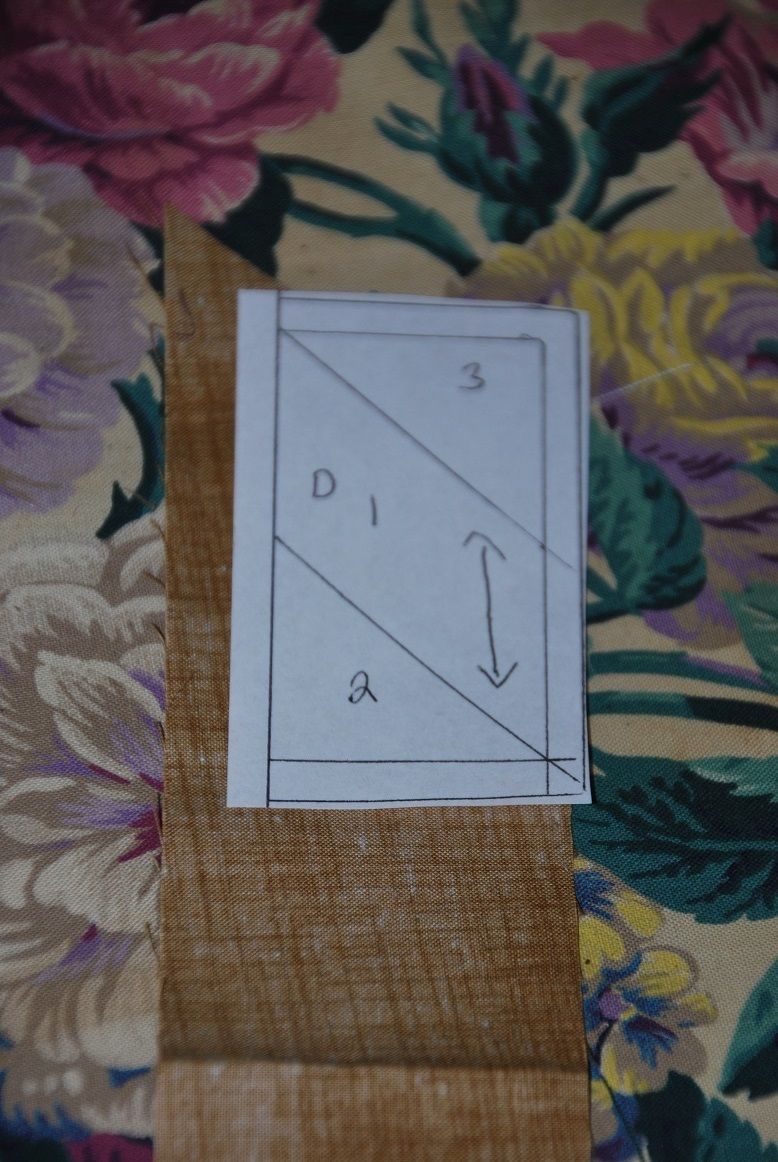
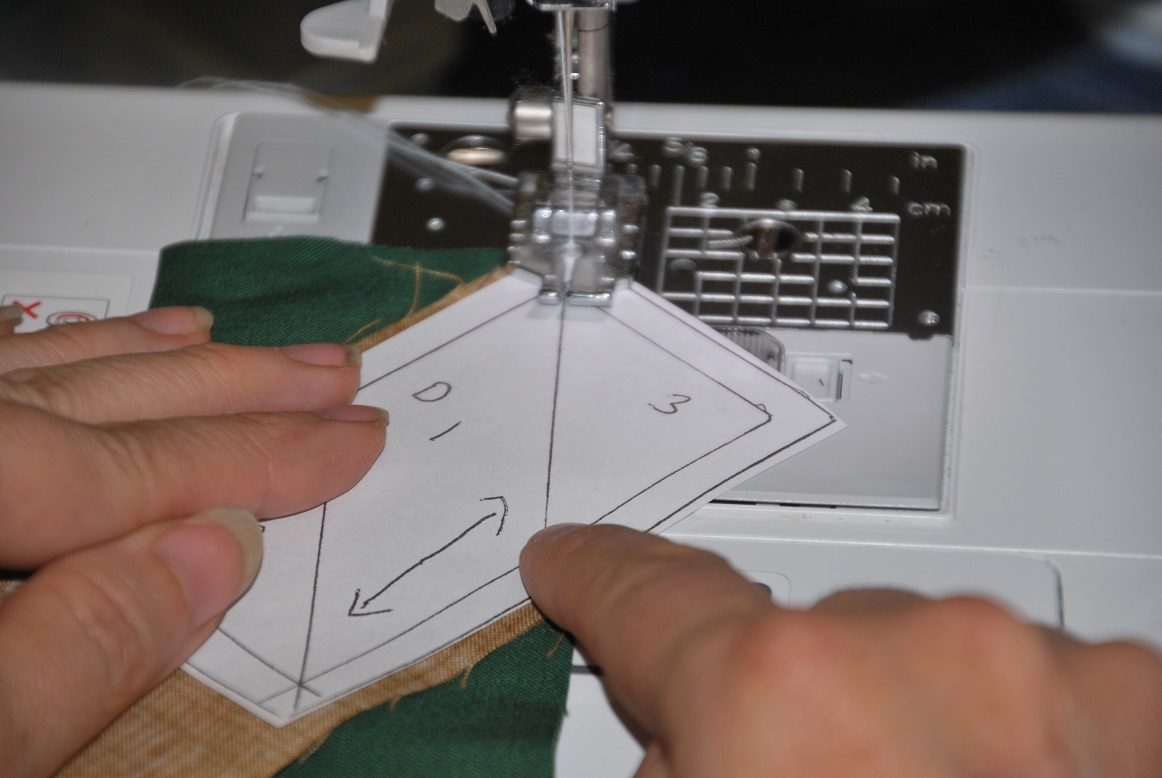
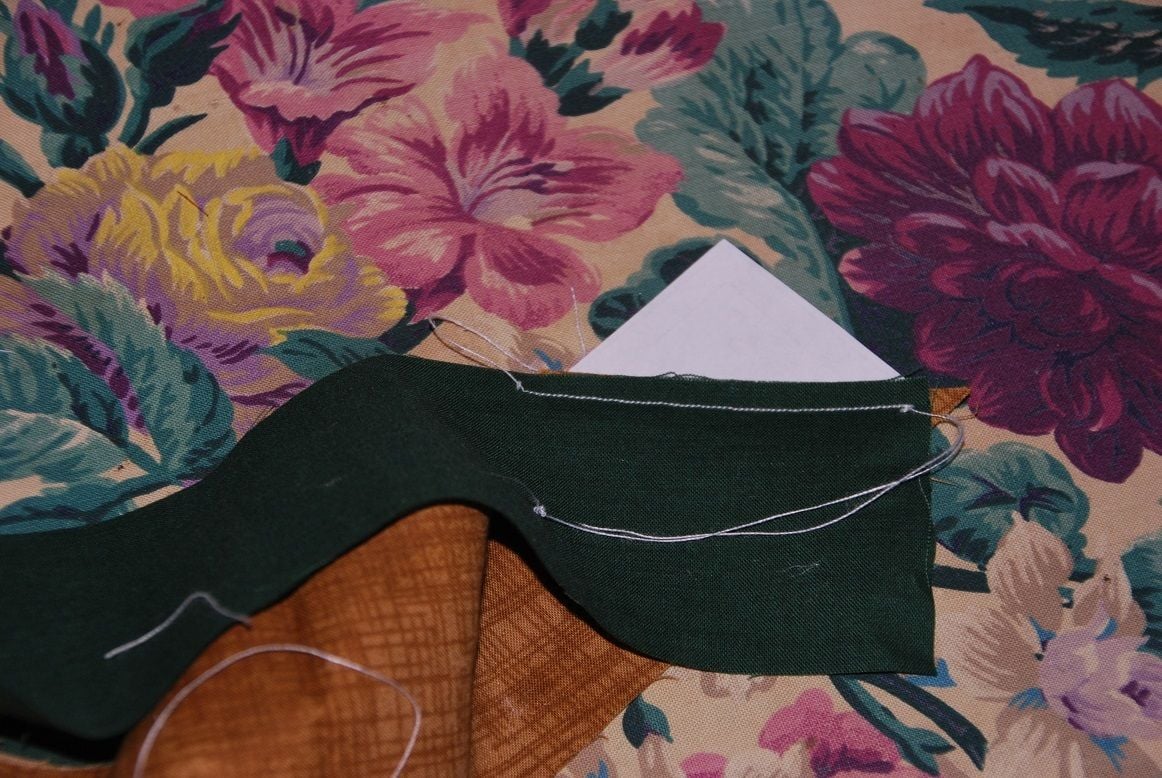
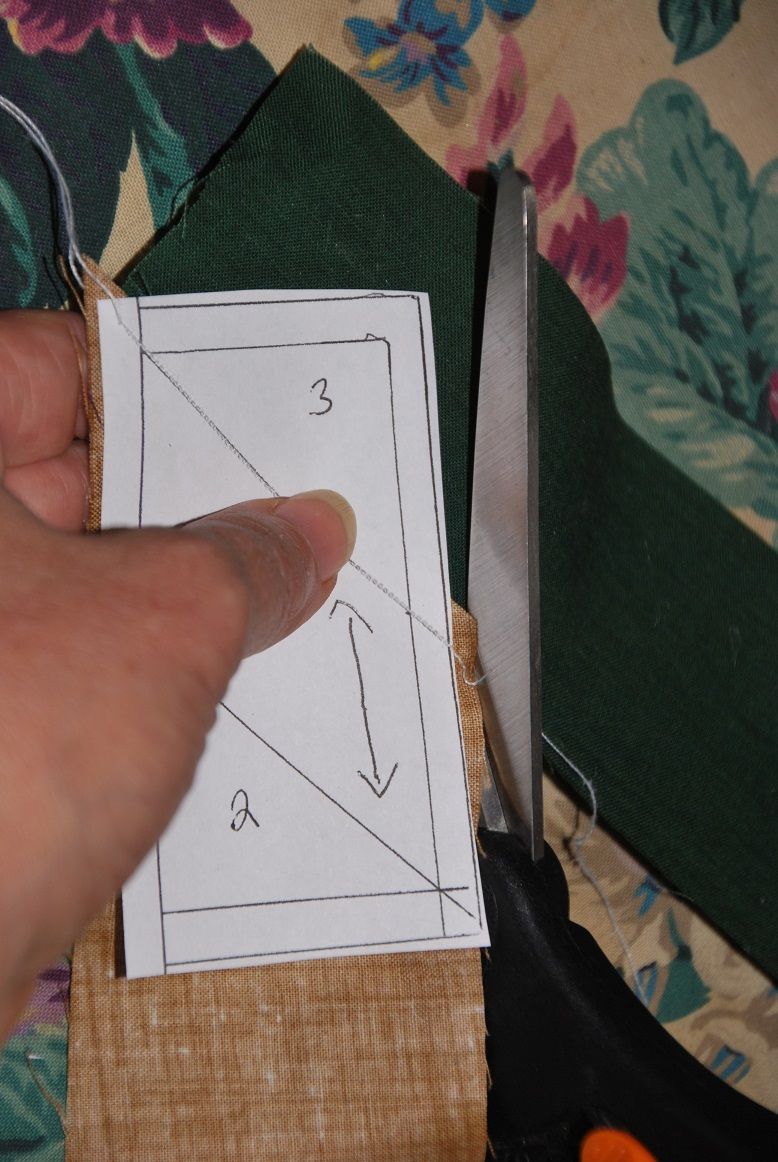
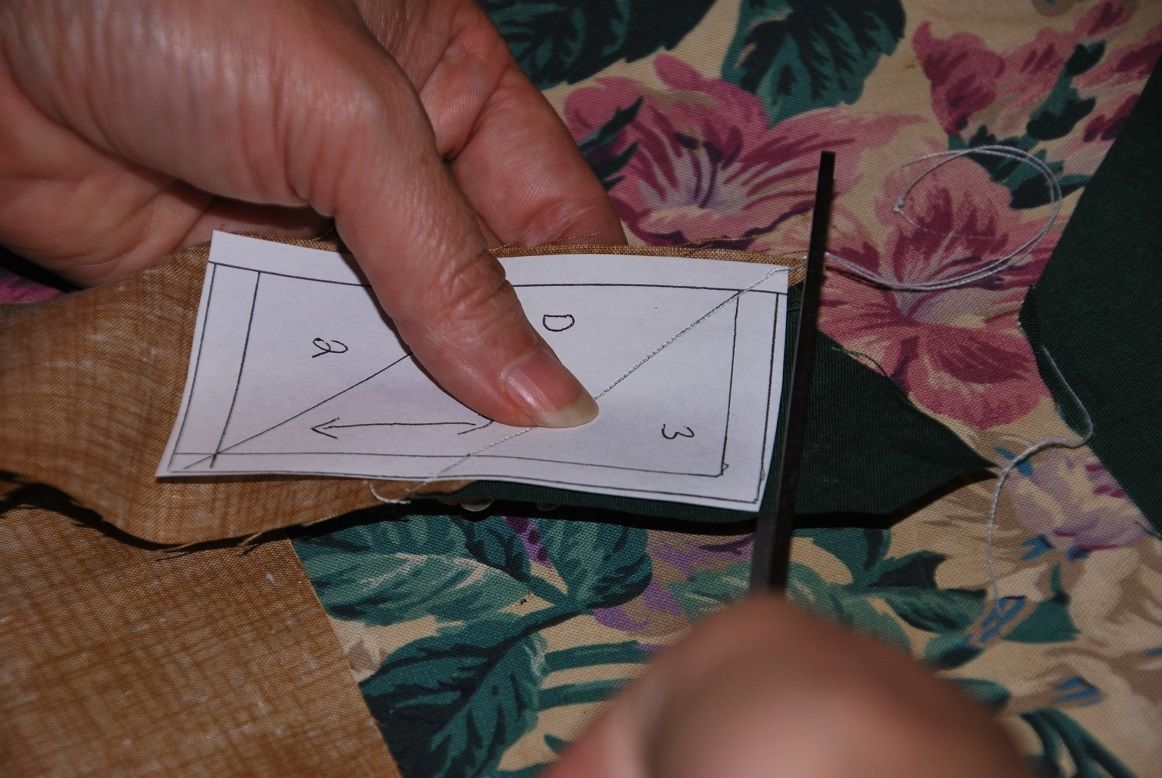
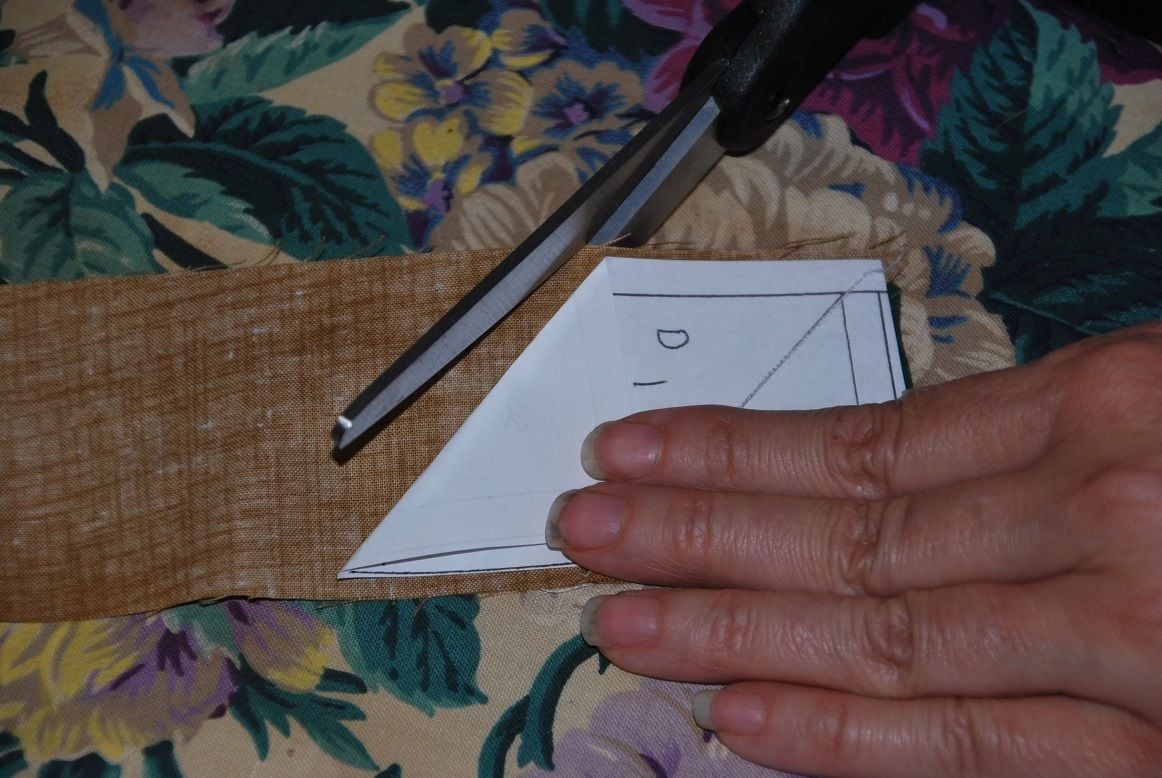
An easy way to trim the long tail at the correct spot is to fold back, not at the sewing line, but a seam allowance past the sewing line.
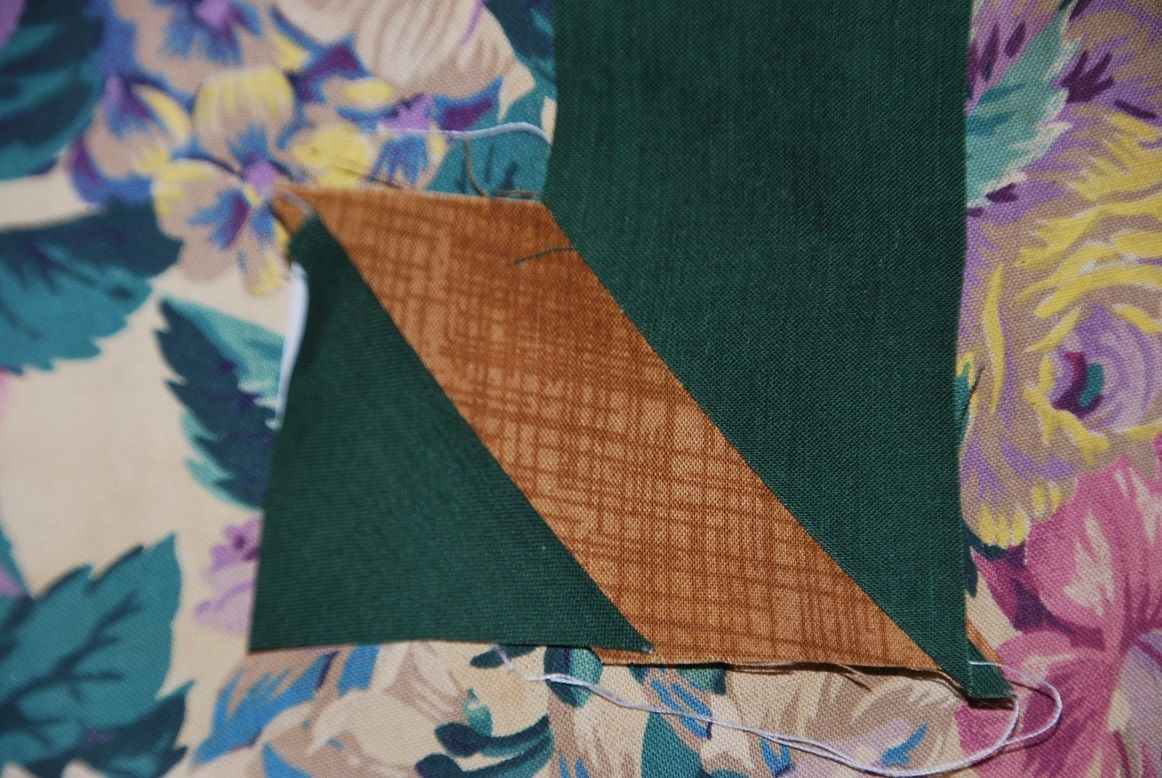
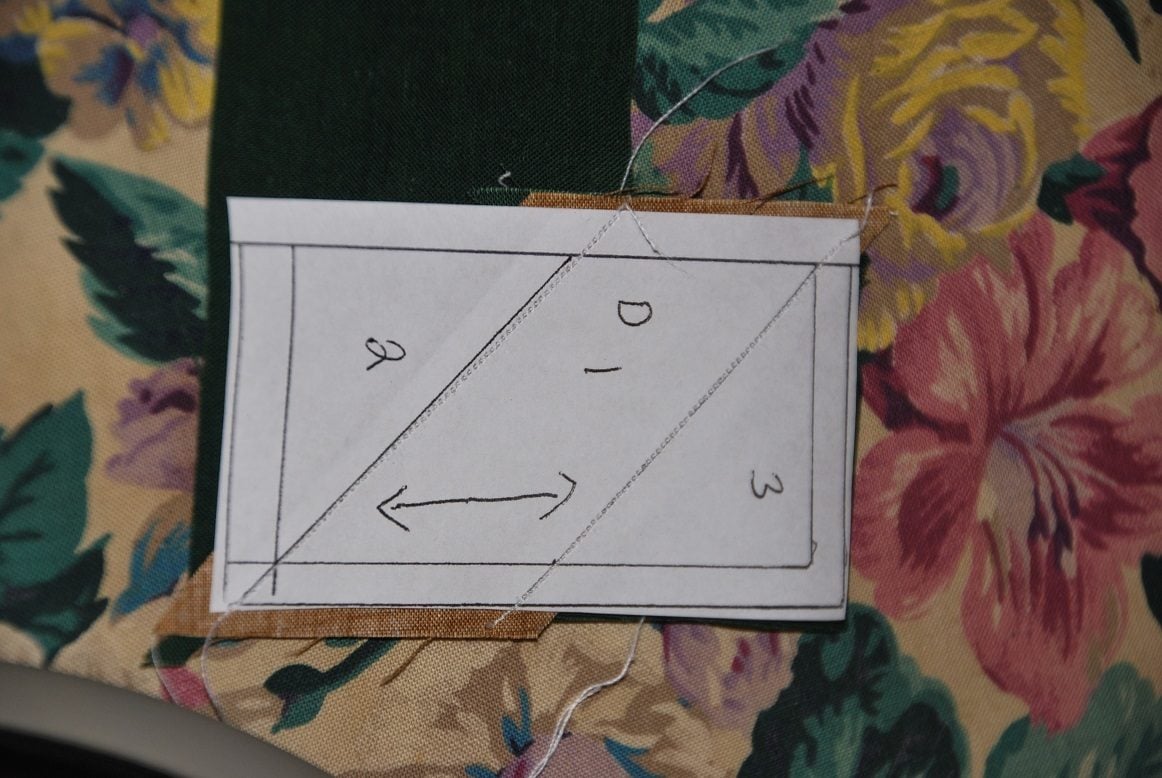
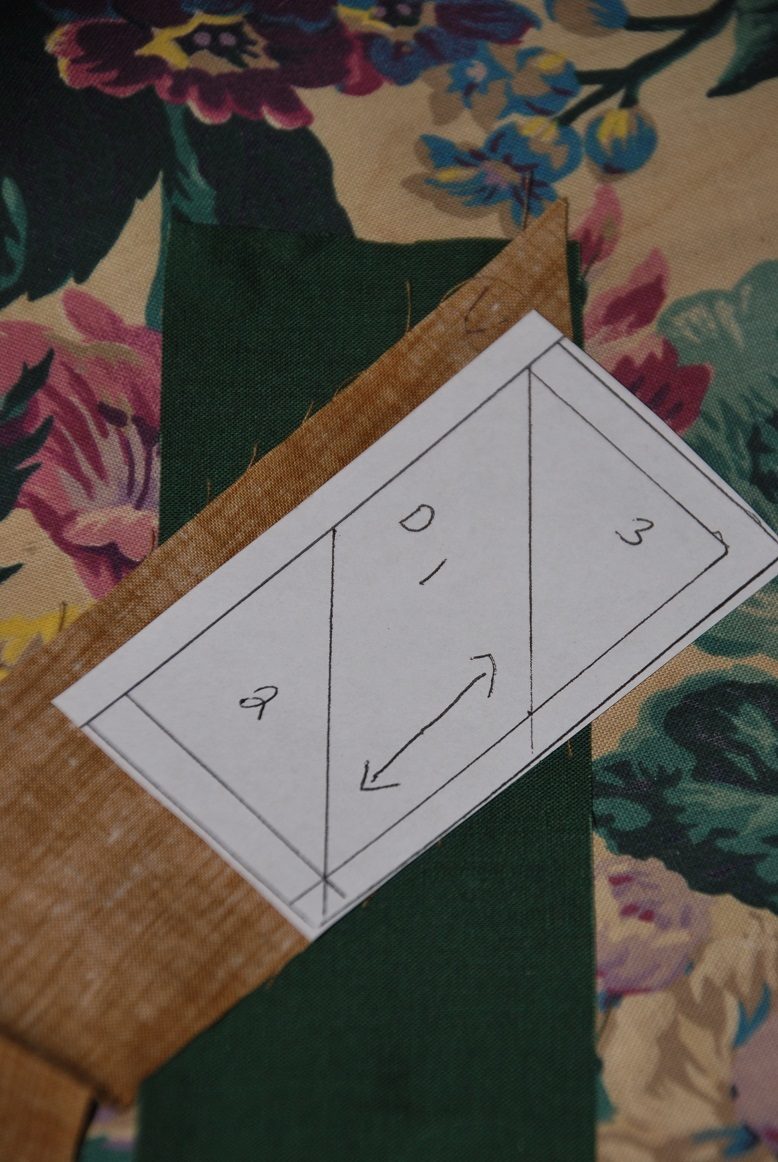
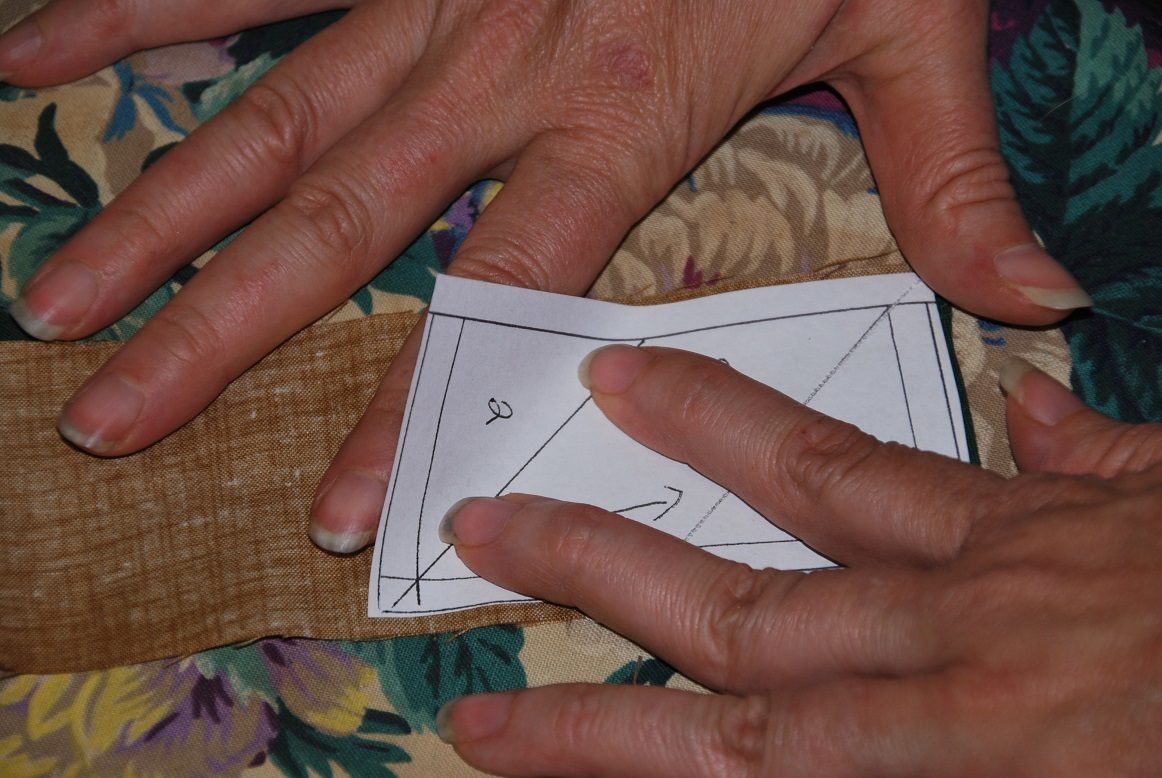
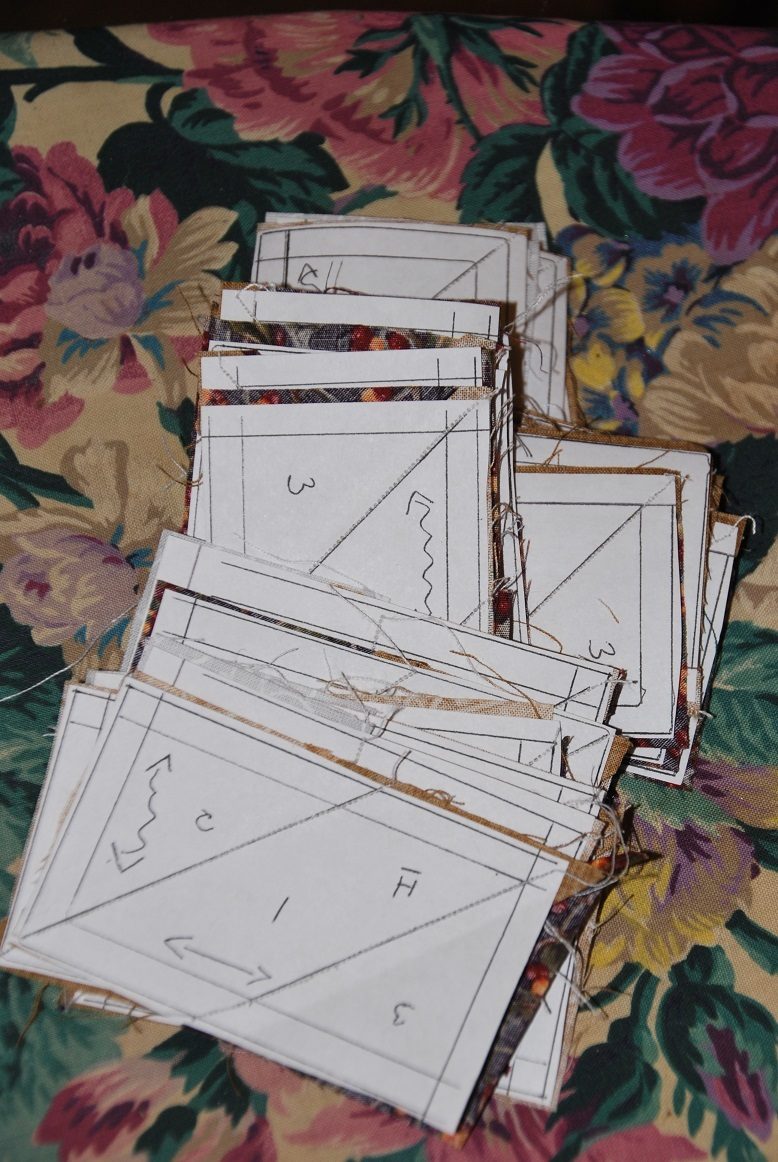
Just repeat this w/ the correct colors and placement X 32
Now place A with B, C-D, E-F, and G-H together
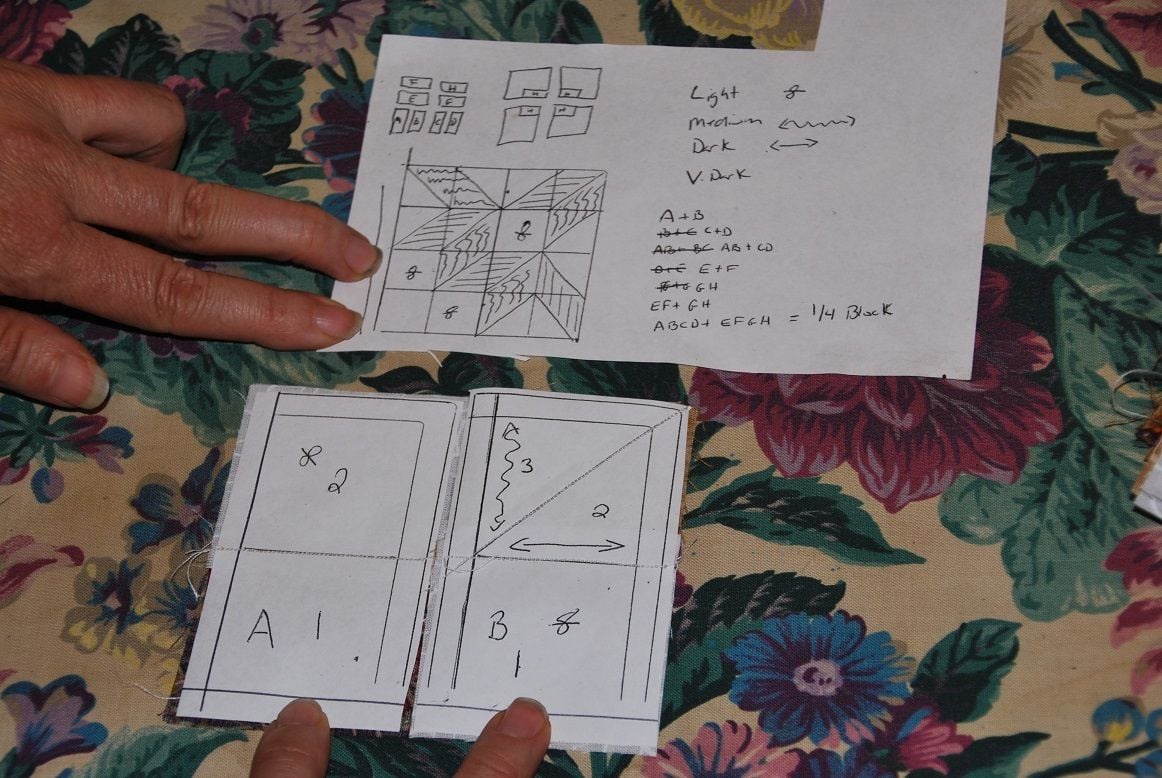
Use the picture for correct placement, but you will have to have the paper side up or things will be backwards and you (at least I do anyway) will get confused.
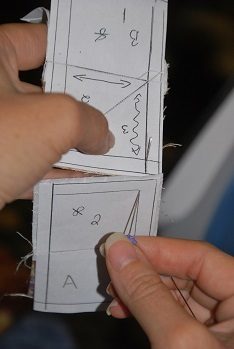
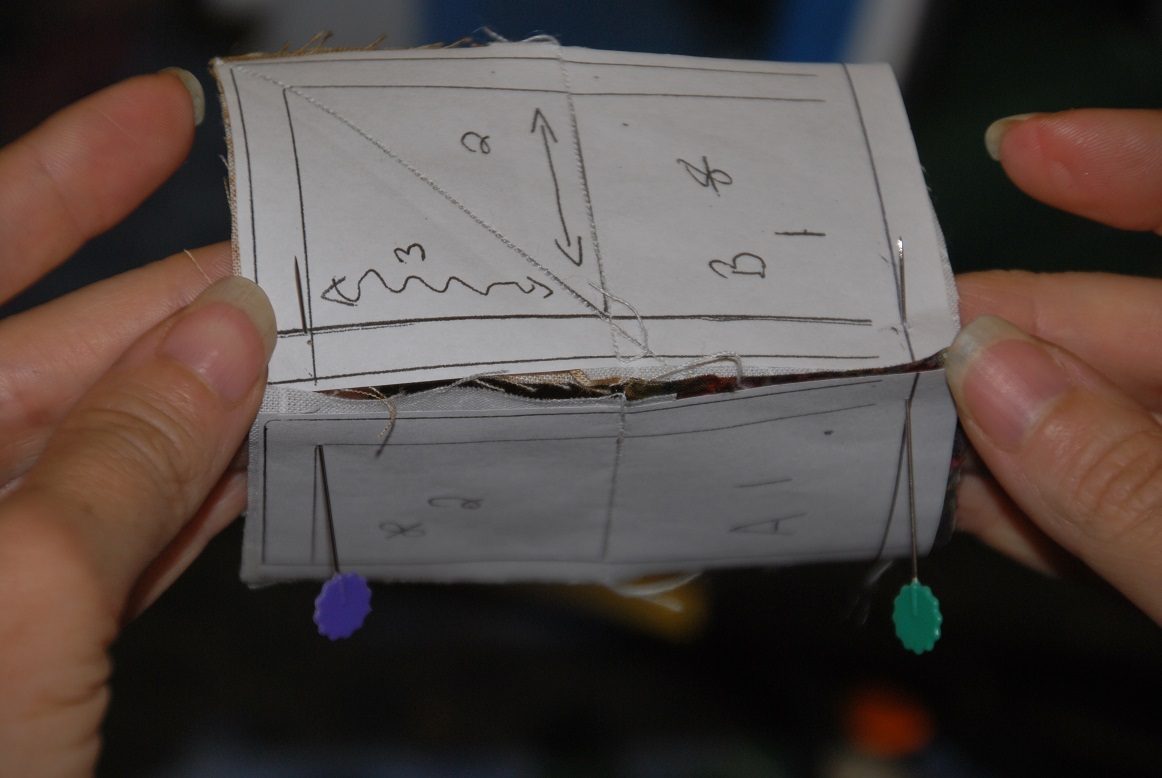
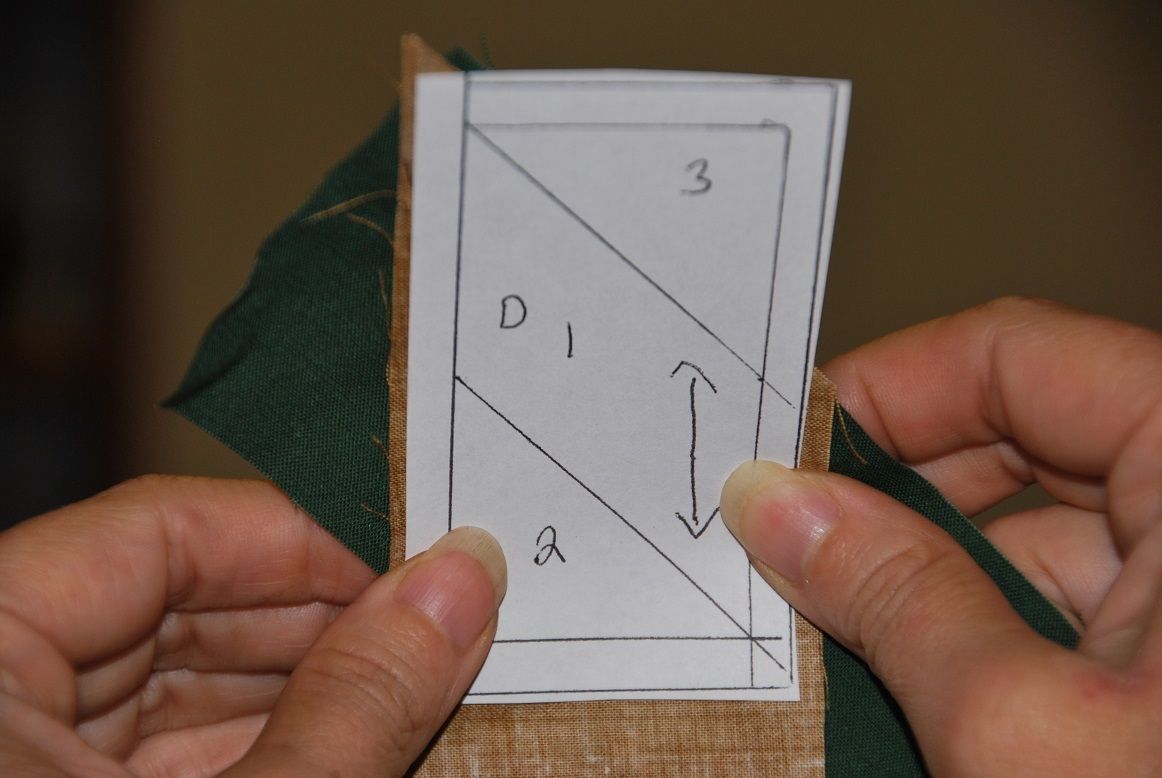
Pin them at corners to keep everything lined up and straight.
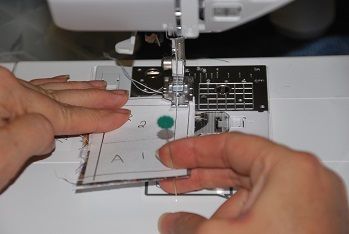
Each step from here on out can be chain pieced
When pressing just press where the majority of the seams that you are sewing across are laying opposite for easier sewing and lining.
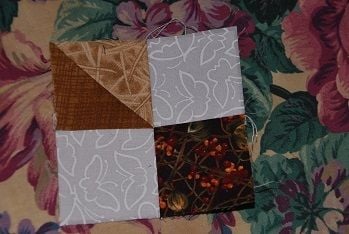
Once the sets are finished then you sew AB - CD, EF - GH

Now ABCD to EFGH
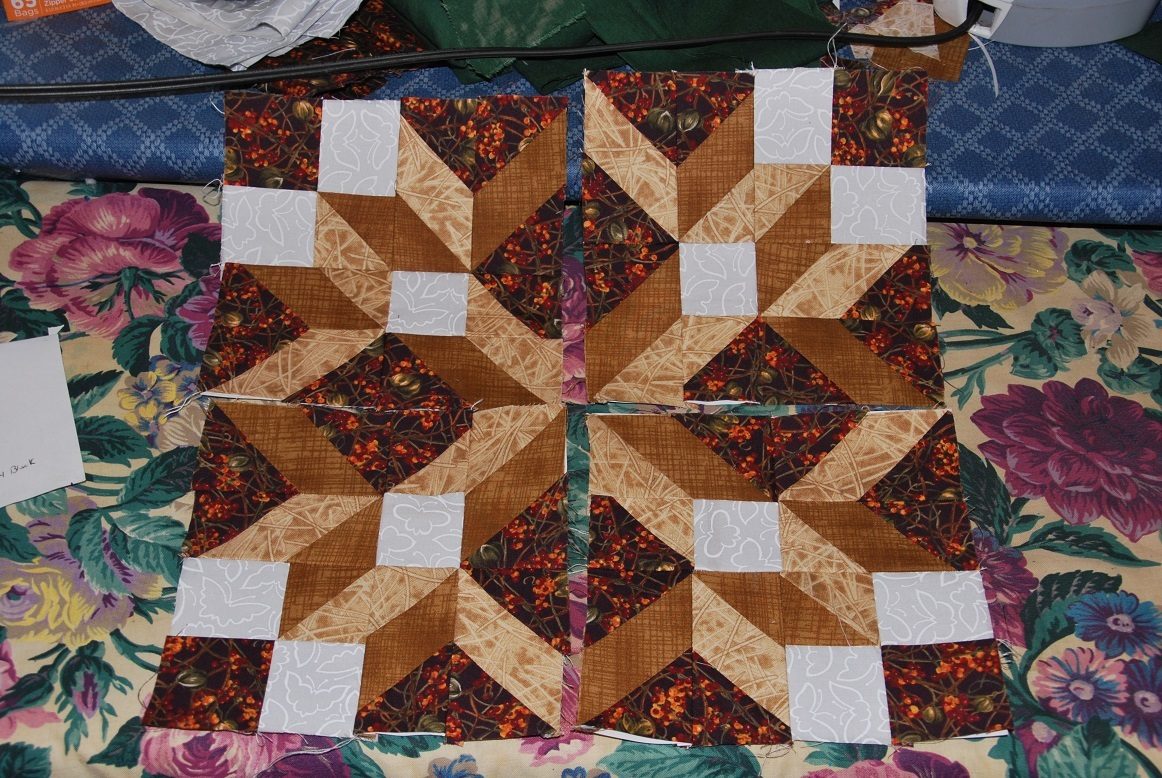
Now you have the 4 quarters
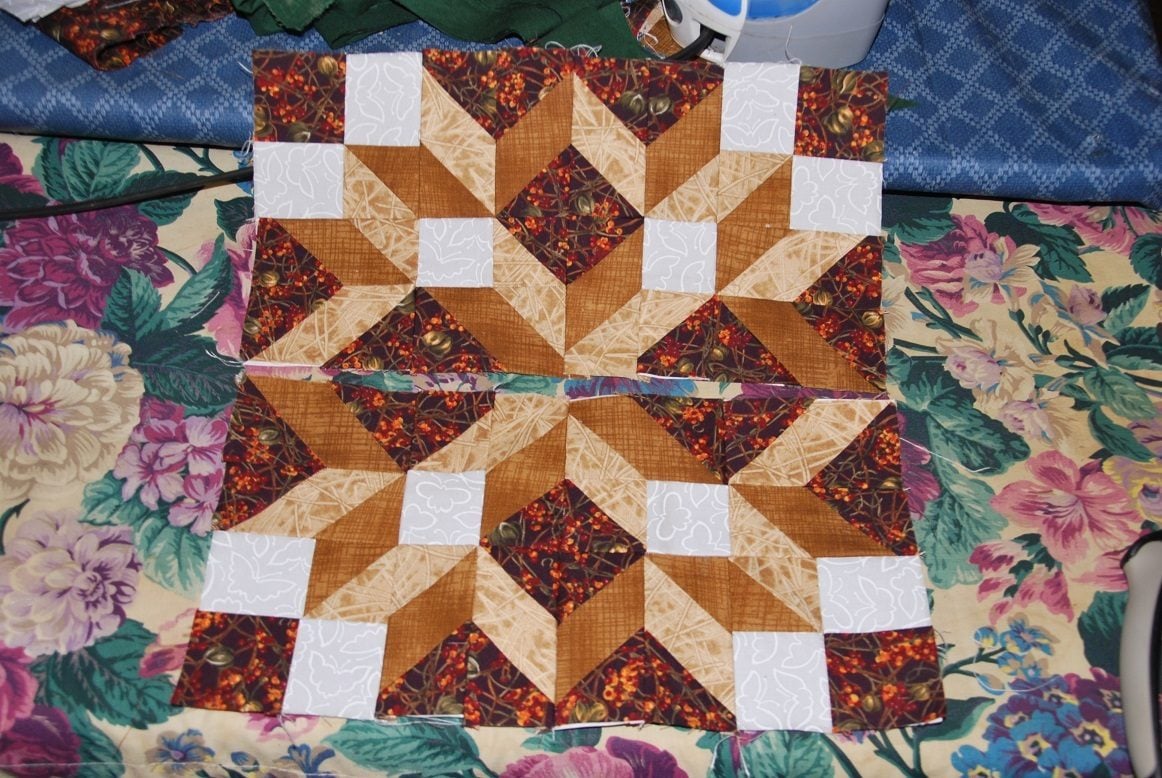
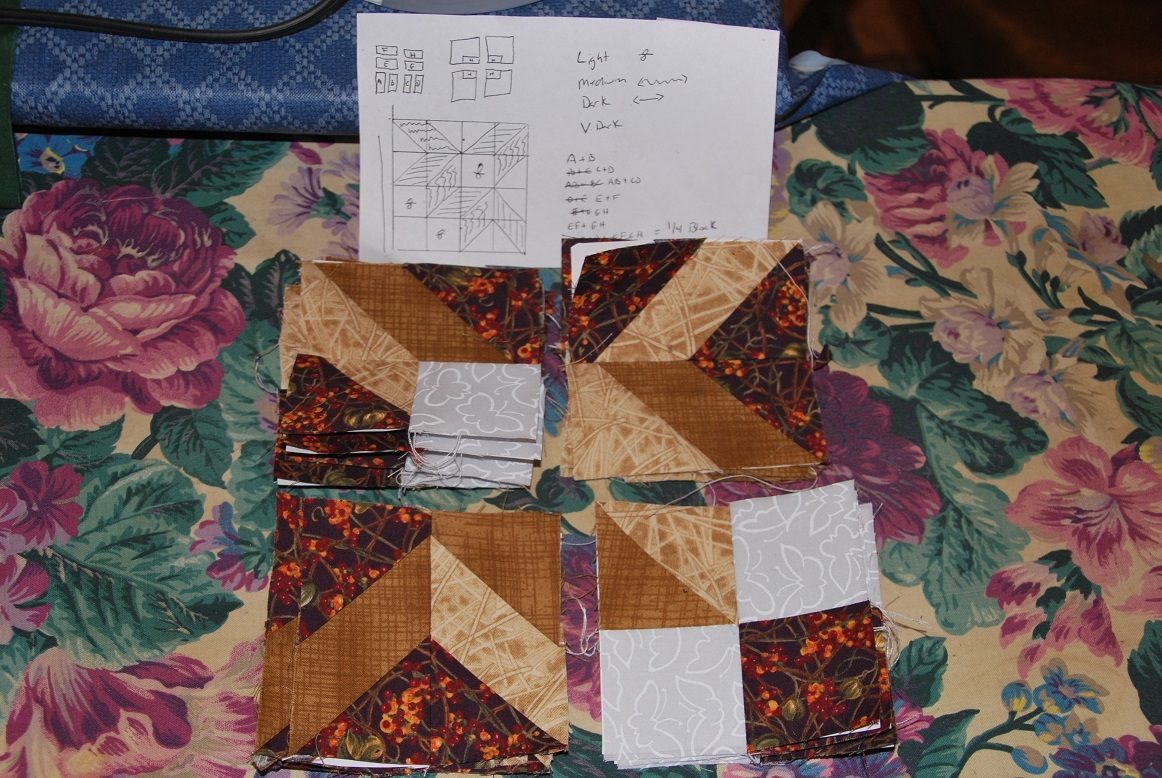
Press the center in a spiral it will lay flatter
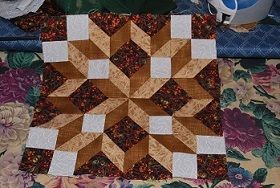
There it is finished.
First of all here is the pattern this shows 1/4 of the block, so you will need 4 of these to make one 12 1/2 inch block. The individual rectangles should measure 2 inches by 3.5 inches from outside edges (not the sew line) This will make the 12.5 inch block.
If your working with a fabric that is directional use the arrows for directional placement as well as fabric choice.
The blank selection I marked as "very dark" really is background and doesn't have to be the darkest fabric
Each rectangle will be sewn first in regular pp fashion
An easy way to trim the long tail at the correct spot is to fold back, not at the sewing line, but a seam allowance past the sewing line.
Just repeat this w/ the correct colors and placement X 32
Now place A with B, C-D, E-F, and G-H together
Use the picture for correct placement, but you will have to have the paper side up or things will be backwards and you (at least I do anyway) will get confused.
Pin them at corners to keep everything lined up and straight.
Each step from here on out can be chain pieced
When pressing just press where the majority of the seams that you are sewing across are laying opposite for easier sewing and lining.
Once the sets are finished then you sew AB - CD, EF - GH
Now ABCD to EFGH
Now you have the 4 quarters
Press the center in a spiral it will lay flatter
There it is finished.


 10-04-2014, 01:47 AM
#5
Super Member
Thread Starter
Join Date: Sep 2014
Location: Rural Oklahoma
Posts: 5,374
Your welcome, and I don't think I wrote about the fabric strips, they are cut at just a smidge over 2 inches wide, exactly 2 inches will work, but the smidge of "wiggle" room makes your life a little easier. (I usually do a scant 1/4 inch or so)


 11-02-2014, 04:23 AM
#10
Super Member
Thread Starter
Join Date: Sep 2014
Location: Rural Oklahoma
Posts: 5,374

Thread
Thread Starter
Forum
Replies
Last Post
