
"Mid-Century Modern" Pfaff cabinet. What do you think of it?
 02-12-2016, 06:24 AM
#1
Member
Thread Starter

Join Date: Jan 2016
Location: NE Kansas
Posts: 71
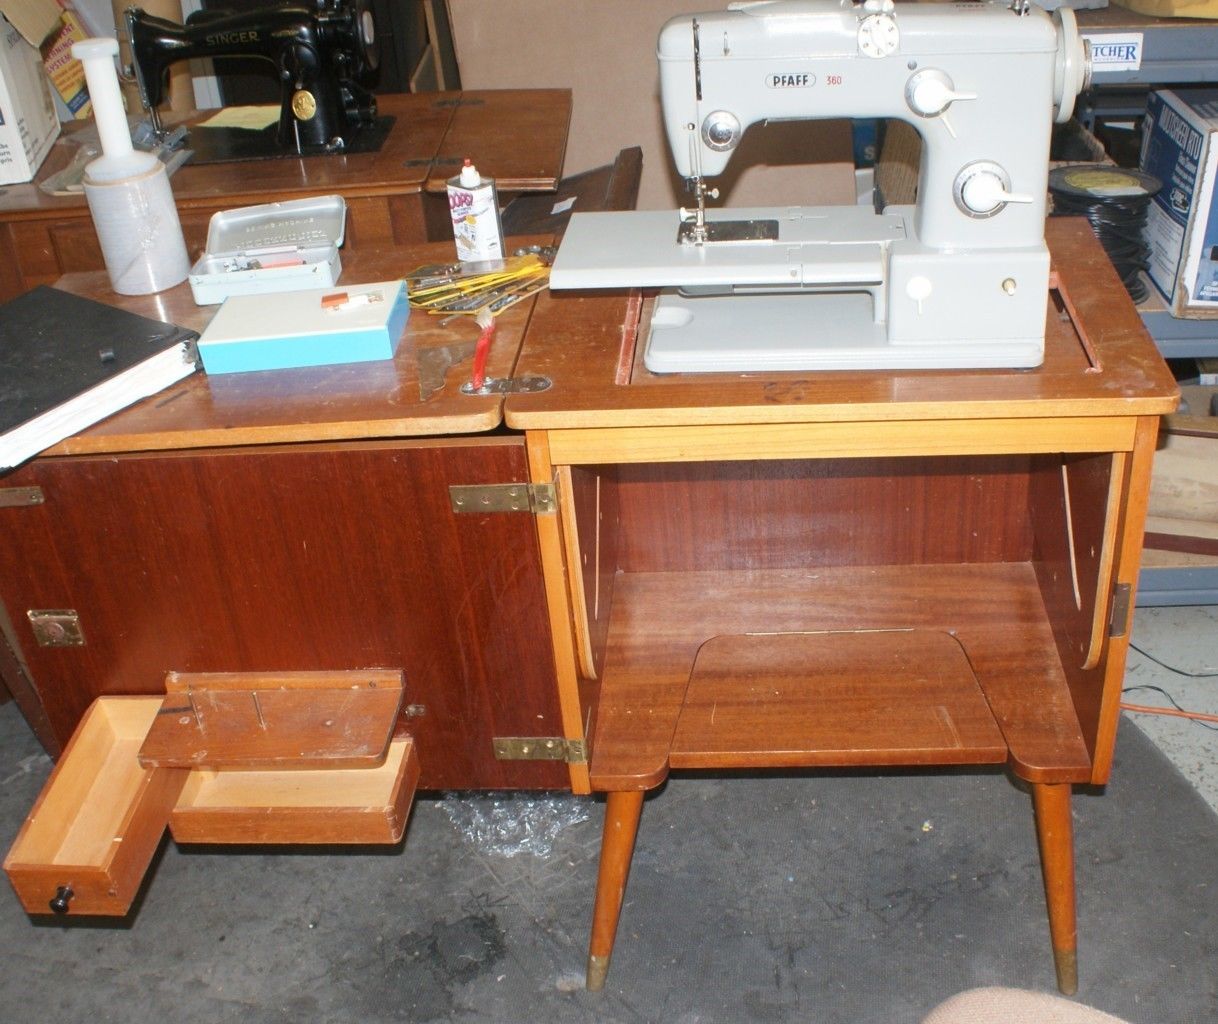
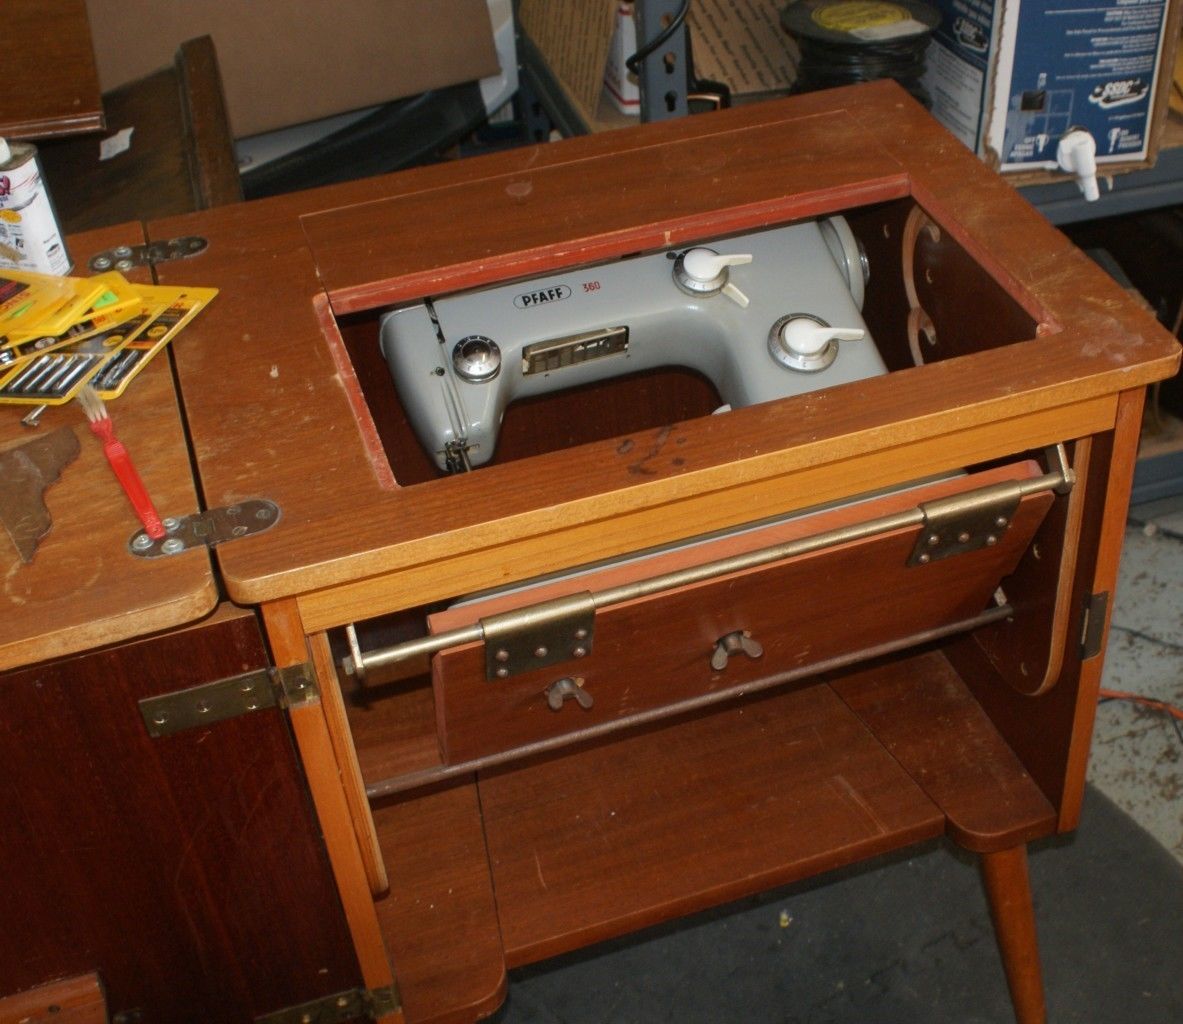
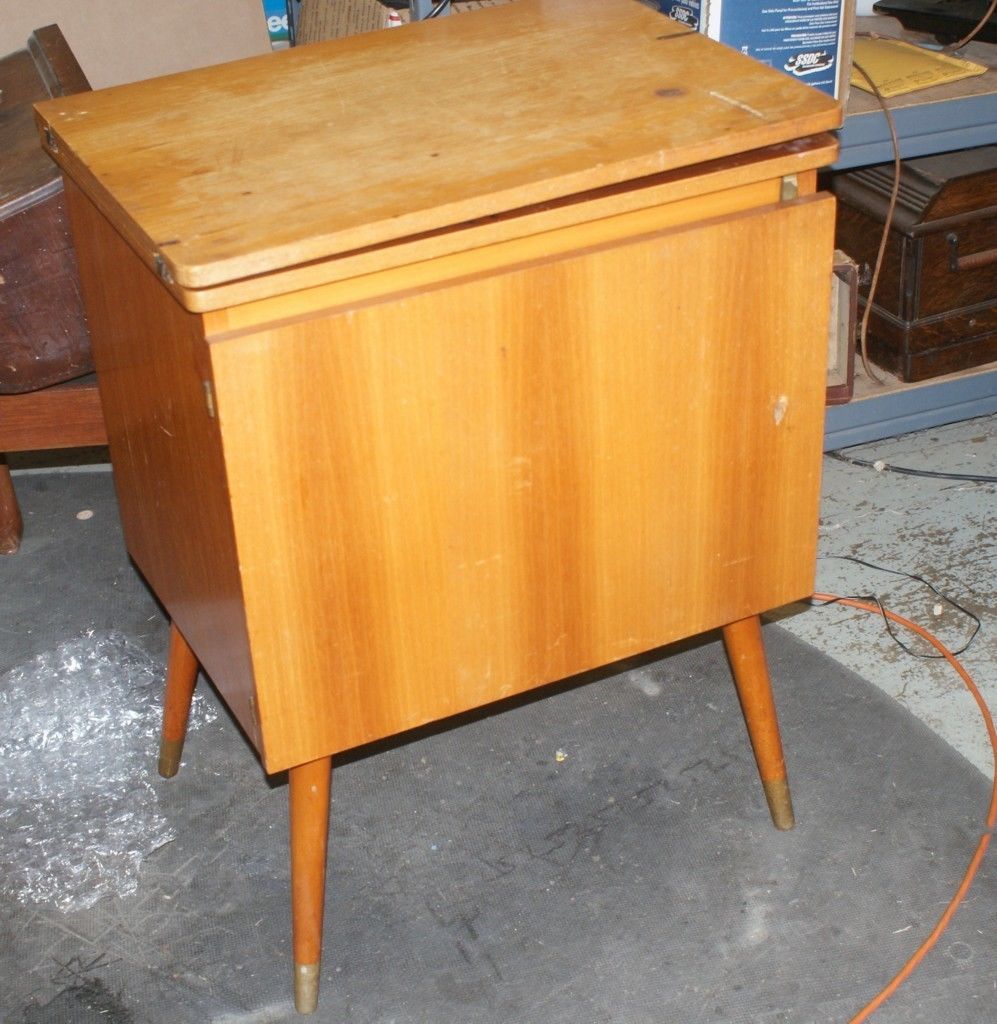
Well, friends, here it is, a Pfaff Mid-Century Modern sewing machine cabinet! $60 on eBay. Just the thing for my Pfaff 360, even though it needs some TLC. It will be picked up by a company truck for a pittance. Tell me what you think of this cabinet; I have never seen it anywhere before. I'm fond of traditional styles almost exclusively, but the more I see this, the more I like it. It suits the machine.

Singers 201-2, 15-91, Featherweight; Pfaffs 1473CD, 360; White FR 1909; Improved Eldredge B; US Blind Stitch; Babylock Imagine overlock.
I can justify having these because my husband has more cars than I have machines.
I can justify having these because my husband has more cars than I have machines.
 02-12-2016, 06:51 AM
#2
Super Member
Join Date: Sep 2015
Posts: 1,963
These teak cabinets are often very well made, sturdy and have ideal proportions to work on. Other can feel a bit small for taller people. Its' a lot of work to make them look new again, but it can be done. The teak needs to be sanded down to remove areas faded by sunlight, you can get replacement veneer if needed since some of the veneers are too thin to be sanded down. I haven't seen this cabinet before, but I have seen clever 50s, 60s and 70s cabinets made for free arm models where the machine has a up position for using the free arm and a lower postion to work as a flat bed. The nicer ones are often made of teak, but they aren't as plentyfull as pre 1950 cabinets.

 02-12-2016, 11:57 AM
#4
Super Member
Join Date: Oct 2013
Location: Centralia, WA, USA
Posts: 4,890
I haven't seen that one before. Looks like one of the better examples of Mid Century Modern. Check Glenn's tutorials on restoring cabinets. You should be able to get it cleaned up quite nicely. It's too nice to paint IMO.
Rodney
Rodney
02-12-2016, 02:22 PM
#5
Banned
Join Date: Aug 2014
Location: Victorian Sweatshop Forum
Posts: 4,096
02-12-2016, 04:37 PM
#7
Super Member
Join Date: Sep 2015
Posts: 1,963
They were often in a high gloss finish, I find it not that easy to restore with out a lot of work. The finish is flawless and often super smooth thick transparent lacquer. Others seem to have left the wood almost natural with out any particular finish other than wood oil you brush on now and then. This type of finish can shine up very nicely, removing stains and faded areas with just a few brushed on layers of oil. I can't make out what type of finish your cabinet has Patricia, it might look like it's a thin layer of transparent lacquer leaving the structure in the wood still tactile. I have a teak sewing table (to keep all the stuff in) in a very high gloss finish, the transparent lacquer is super smooth like a guitar, filling in any trace of grain in the wood. It leaves a spectacularly silky display of the colours in the teak.
02-13-2016, 05:22 AM
#8
Member
Thread Starter
Join Date: Jan 2016
Location: NE Kansas
Posts: 71
I love hearing your opinions. I didn't realize it was teak, but I am glad it is because an oil finish would be perfect and painless. Dealing with the cigarette burns is the problem. Teak is an oily wood and it is hard to make finishes stick to it, which is why is so popular among sailors and their boats. It doesn't have to be varnished because it weathers so well. Indoors, it will be easy to maintain. Somebody painted the teak trim on my old sailboat, and it has chipped here and there and what remains is a royal pain to remove, so I think painting would be a mistake.
Yesterday I wandered into a crummy little thrift store and found a Singer 185J--The Green Machine. You can guess what happened...but that's another post.
Yesterday I wandered into a crummy little thrift store and found a Singer 185J--The Green Machine. You can guess what happened...but that's another post.
02-13-2016, 06:20 AM
#9
Super Member
Join Date: Feb 2012
Posts: 8,091
I like it quite a bit. The first thing I'd do is replace the lid screws so the lid would close properly.
The technique I use is to use small pieces of scrap veneer, roll them up and cut them to match the depth of the screw hole. Then I fill the hole with wood glue, tap the rolled up piece of veneer in and thread in matching screws from a hardware store.
This fixes the torn out screw holes and made a world of improvement.
You can also use match sticks, or other small pieces of scrap wood, but the rolls of veneer work really good.
Joe
02-13-2016, 06:44 AM
#10
Member
Thread Starter
Join Date: Jan 2016
Location: NE Kansas
Posts: 71
Don't know where I would find scrap pieces of veneer, but you are right about changing the screws. There is a picture of the mismatched screws on the original listing, washers and all. No wonder the lid won't close. Thank you for the good instructions for doing it correctly. I've done that with matchsticks on some door hinges, but didn't use glue...no wonder the repairs didn't last.

Thread
Thread Starter
Forum
Replies
Last Post
Mrs. D
For Vintage & Antique Machine Enthusiasts
18
01-10-2018 07:04 PM
